Photo Size Converter in KB: How to Compress Images to Exact Targets Without Losing Quality
The Mechanics of Image File Size in Kilobytes
Behind every digital photo sits a raw trail of binary code. When you run a picture through a photo size converter in KB, you aren't just waving a magic wand over the visual. You're physically reorganizing how binary information fits into distinct digital storage blocks.
Think of a kilobyte as 1,024 bytes of distinct instruction data. Inside that container, your file stores coordinate maps, color tables, opacity markers, and baseline pixel matrices.
Straight off a modern smartphone sensor or mirrorless rig, an uncompressed image easily weighs between 3,000 KB and 25,000 KB. Try feeding that heavy file to a state visa portal or civil service registration form, and you'll hit an immediate brick wall. Most legacy systems cap out at 100 KB, 50 KB, or an agonizingly tight 20 KB.
Squeezing down to those micro-targets without turning someone's face into a smudge of digital soup demands real precision. You have to juggle pixel dimensions, mathematical encoding curves, and compression algorithms simultaneously.
Kilobytes, Megabytes, and Pixel Density
Pixel density comes down to simple math: how many individual data points sit inside your file's virtual canvas? High megapixel sensors spit out monstrous byte counts because every single coordinate demands its own dedicated red, green, and blue color values.
Faced with a stubborn 100 KB ceiling, an upload server will choke if you feed it an uncurated grid of twelve million pixels. Scaling down your canvas width and height directly relieves that pressure. Trimming excess pixel rows gives your compression engine far less heavy lifting to do.
Before you crank compression sliders into the danger zone, take a second to adjust raw dimensions with an image resizer. Pruning the outer dimensions first protects the structural integrity of the shot, saving you from muddy, ruined textures later.
Lossless vs. Lossy Compression Algorithms
Ever zipped a folder of documents? That is essentially how lossless compression works with imagery. It tracks repetitive code patterns across your file, turns them into tidy shorthand tables, and reconstructs every single original pixel perfectly upon display.
Lossy compression plays by totally different rules. Instead of keeping every pixel intact, the encoder hunts down neighboring shades that look reasonably similar and merges them into uniform blocks. Standard JPEGs rely heavily on this clever sleight of hand to hit microscopic file weights.
Targeting double-digit kilobyte limits makes lossy compression practically unavoidable. The trick lies in dialing in the exact threshold where the encoder strips away superfluous tone data without smearing out crucial edges.
Color Space and Hidden Metadata Overhead
Most cameras pack an astonishing amount of baggage into raw snapshots. Known as EXIF data, this invisible payload stores your shutter speed, camera serial numbers, GPS coordinates, timestamps, and embedded thumbnail previews.
On a strict 30 KB visa submission, hidden EXIF blocks can devour up to 20 KB before you even touch a single pixel. Stripping that metadata payload out gives your actual picture the breathing room it desperately needs to stay crisp.
Color profiles behave the exact same way. Wide-gamut spaces like Adobe RGB or DCI-P3 drag along massive translation tables that inflate file weight. Converting your assets to the standard sRGB web profile sheds unnecessary bytes right out of the gate.
Why Target File Size Constraints Matter Across Platforms
Server firewalls don't enforce strict upload ceilings just to make your life difficult. Enterprise systems and government databases handle hundreds of thousands of concurrent incoming files every single hour. Without hard caps on file weight, incoming traffic would bring their storage servers to a grinding halt.
Locking down file limits keeps database lookups lightning-fast while trimming enterprise storage expenses. Learning how to shape assets for specific gatekeepers spares you endless rejected forms and maddening submission loops.
Across the web, three distinct environments mandate strict kilobyte management.
Government Portals and Job Applications
Public administration portals—from passport applications to civil service exams—run on strict, automated validation scripts. Hand an intake system a 51 KB file when the limit is 50 KB, and the upload script will reject your submission instantly.
Human reviewers never even see these rejected files. Automated validation routines evaluate the binary payload right at the upload perimeter. To make matters worse, crude compression that leaves faces unreadable will trigger an immediate manual disqualification.
Running your photos through a dedicated smart doc assistant guarantees your official records slip past strict server filters while keeping text and facial features razor-sharp.
E-Commerce Catalog Specifications
Online marketplaces like Amazon, Shopify, and Etsy thrive on quick browsing experiences across mobile networks. Force a shopper on an inconsistent cellular connection to wait for a bloated product gallery, and they'll bounce to another seller in seconds.
Platform architects enforce hard asset boundaries to keep storefronts moving fast. Keeping your commercial listings under 200 KB ensures product cards load instantly without draining customer data plans.
Dial in pristine product shots using an e-commerce focused product studio. You get the perfect balance between tactile product textures and lean, bandwidth-friendly payloads.
Website Core Web Vitals and Load Speeds
Search algorithms monitor performance metrics like Largest Contentful Paint (LCP) with extreme precision. Heavy hero banners running multiple megabytes drag down your search performance by forcing visitors to stare at blank viewports.
Shaving an expansive landing page banner down to an agile 80 KB speeds up initial layout rendering drastically. Fast rendering translates directly into stronger organic rankings, lower bounce rates, and better mobile conversions.
Speed keeps visitors on your page. Applying tight, targeted kilobyte ceilings yields instant rendering speeds across devices without forcing you to settle for pixelated, amateurish images.
Step-by-Step Guide: Using a Photo Size Converter in KB
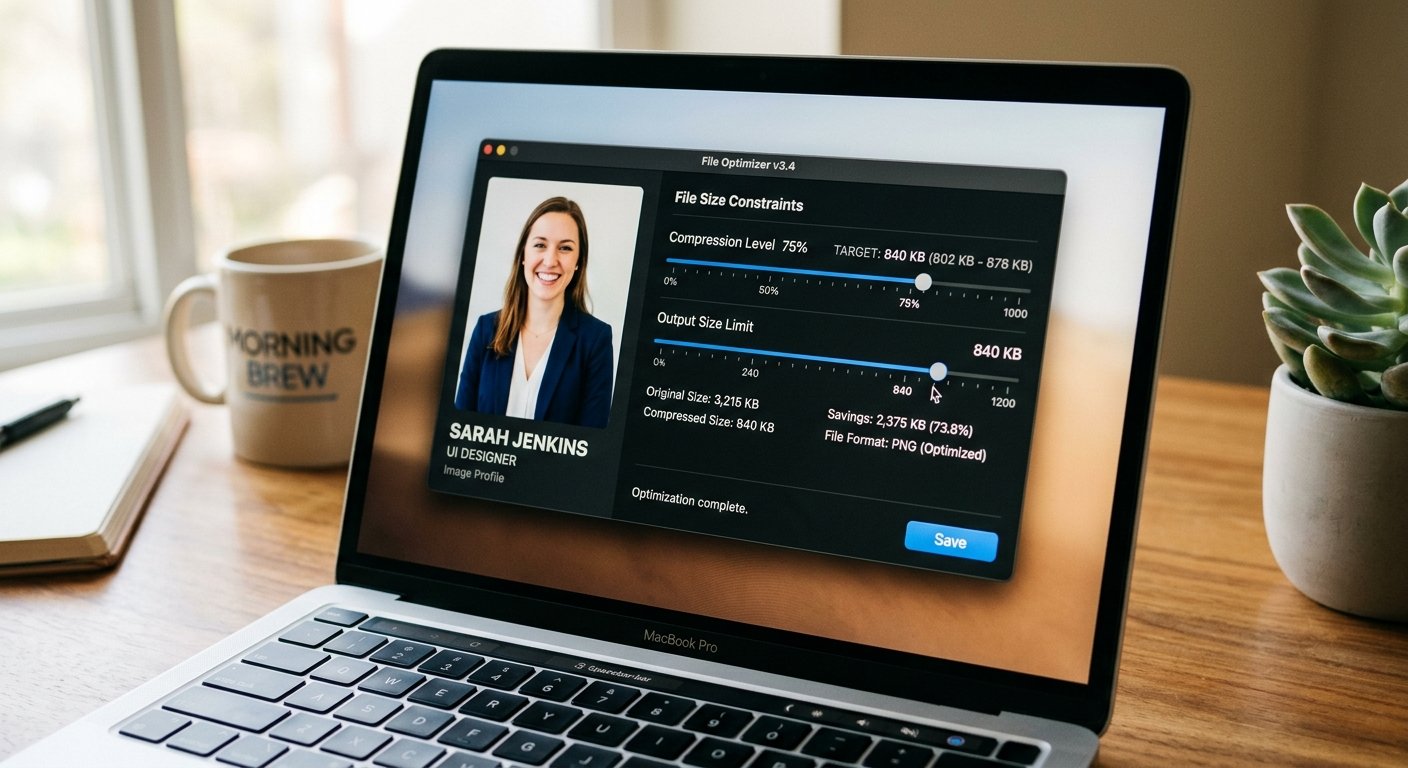
Shrinking an asset down to a specific target weight shouldn't feel like playing roulette with a quality slider. Modern web processors take the guesswork out of the equation by letting you input the exact kilobyte number you need.
Relying on a disciplined optimization process keeps your images looking crisp while saving you from repetitive trial-and-error uploads. Walk through this three-stage workflow to convert oversized pictures into lean, optimized assets.
Step 1: Evaluating Your Source Asset
Start by auditing the base dimensions and container format of your original capture. Trying to force a raw 12 MB transparent PNG down to a 40 KB PNG file directly will butcher your graphic with messy dithering.
PNG containers are engineered for flat logos, vector icons, and graphics with sharp line contrasts. Rich photographic content demands a lossy compression pipeline like JPEG or WebP to survive extreme size reductions.
Scan the frame for wasted negative space or messy borders that can be cut out immediately. Dropping unnecessary canvas area before compressing gives your encoder fewer pixels to calculate, keeping the core subject sharp.
Step 2: Choosing Output Formats and Dimensions
Always align your format choices with where the file is ultimately going. While modern browsers handle WebP effortlessly, government forms and formal job portals usually insist on standard JPEGs.
Got an asset cluttered with busy, irrelevant background details? Run the picture through an automated background remover to strip out the noise. Eliminating wild background color shifts instantly shrinks your file size without compromising the subject.
Need broad compatibility across outdated software? Pass your files through a dependable format converter to create a clean, standardized JPEG or transparent PNG before dialing in the final compression pass.
Step 3: Dialing in Precise Kilobyte Targets
Drop your cleaned asset directly into our auto compress tool to establish your hard file ceiling. Type in the exact number required by your submission portal, whether that's 20 KB, 50 KB, or 100 KB.
Behind the interface, the compression engine evaluates high-frequency zones and tunes quantization matrices step-by-step. This automated feedback loop lands right on your required kilobyte mark without forcing you to fiddle with vague quality percentages.
Inspect your final export at full 100% zoom before sending it off. Take a close look at facial features, hair transitions, and small typography to ensure the output remains crisp and readable.
Balancing Visual Sharpness with Aggressive File Reduction
Slashing 90% of an image's digital footprint will always force technical compromises. The real artistry lies in hiding those compromises where the human eye won't catch them.
Our visual cortex locks onto sharp edge definitions, pupil reflections, and facial contours much faster than subtle shifts across flat walls. Smart compression algorithms exploit this bias by burying compression artifacts deep inside low-contrast regions.
Identifying Artifacts and Banding
Push an image past its compression breaking point, and digital flaws become obvious fast. Watch out for ringing artifacts—those telltale halos of pixelated distortion buzzing around sharp contours—and color banding across smooth gradients.
Banding shows up when aggressive quantization merges subtle tonal gradations into rigid, posterized stripes. If banding starts wrecking your image, downscale the canvas dimensions slightly rather than cranking compression to its limit.
Halving an image's horizontal and vertical resolution cuts total pixel volume by 75% instantly. That massive reduction allows your encoder to compress the remaining pixels gently, preserving silky smooth color ramps without banding.
Edge Preservation and Fine Details
Headshots, ID documents, and high-end product photos rely on clean structural lines to look professional. When eyelashes, jawlines, or product labels soften into mush, the whole asset looks blurry.
Smart compression engines solve this by applying variable-bitrate encoding across the frame. They isolate high-contrast edges and protect them with higher bitrates while aggressively thinning flat skies and empty walls.
This selective compression keeps your subject crisp. Even dialed down to a strict 30 KB limit, your headshot maintains defined collar points, clean hair outlines, and sharp, legible features.
Stripping EXIF Metadata Cleanly
Camera metadata acts as dead weight on an optimized asset. Intake forms and fast-loading web layouts gain nothing from knowing your camera model, lens focal length, or exact GPS coordinates.
Ditching hidden EXIF blocks frequently drops your total payload by 15% to 35% without altering a single visual pixel. At the same time, scrubbing this metadata keeps your private personal data off public servers.
Double-check that your optimization pipeline scrubs unnecessary camera tags while keeping fundamental color profiles like sRGB intact. That ensures colors display consistently across diverse phone and desktop screens.
Combining Pre-Processing Tools for Clean KB Reductions
Shrinking an asset down to micro-sizes gets significantly easier when you tidy up your visual content beforehand. Cluttered, noisy backgrounds force encoders to burn through precious bytes mapping textures that don't matter.
Chaining together a few focused pre-processing steps streamlines your production workflow. It lets you compress photos into remarkably small envelopes while keeping clarity intact.
Background Removal to Cut Payload
Intricate scenery devours file budget at an alarming rate. Snap a portrait in front of detailed foliage, textured wallpaper, or rough brick, and the encoder must track thousands of tiny, contrasting edges.
Using an image background remover strips that noisy scenery out cleanly, leaving you with an isolated subject. From there, use a solid background maker to drop in a clean studio white or soft neutral gray.
Solid backdrops compress into almost zero bytes of data. That freed-up byte budget goes straight into your subject's face, clothing, and hair, keeping everything sharp at 20 KB or 50 KB.
Cropping and Intelligent Framing
Empty space outside your subject is pure wasted data. If a passport portal demands a square headshot, leaving wide margins around the shoulders burns up compression budget on empty air.
Crop tight. Position the subject so their face and upper torso occupy roughly 70% to 80% of your total canvas area.
A tight crop concentrates every available kilobyte right onto the primary subject. Your final image stays clear, recognizable, and fully compliant with verification standards.
High-Efficiency Modern Formats (WebP and AVIF)
Building for modern websites or mobile apps rather than outdated government databases? Leave legacy image formats behind. Modern containers like WebP and AVIF deliver vastly superior compression efficiency.
A WebP file consistently beats an equivalent JPEG by 25% to 35% in raw size while delivering the exact same visual clarity. AVIF takes efficiency even further, managing tricky gradients without ugly posterization.
Switch to modern formats whenever your deployment platform supports them. You'll enjoy rapid load speeds and pristine visuals across every modern display.
Common Pitfalls When Converting Photo Sizes to KB
Optimizing images down to strict constraints often trips people up. Avoid these classic traps to keep your workflow quick, smooth, and frustration-free.
Rushing through image adjustments usually leads to distorted shapes, unreadable details, or immediate validation rejections. Watch out for these common optimization mistakes.
Blind Downscaling Without Aspect Ratio Locks
Never touch pixel width inputs without making sure your aspect ratio lock is engaged. Unlinking width and height squashes or stretches your photo, distorting facial structures and product silhouettes.
Automated validation checkers on intake portals immediately flag and reject distorted portrait ratios. Always maintain the original proportions, or crop the canvas deliberately to match required dimensions.
Verify your aspect lock before tweaking a single pixel measurement. If you need a square layout, crop the canvas to 1:1 first rather than squishing a rectangular shot.
Re-compressing Already Degraded JPEGs
Every time you re-export an already compressed JPEG, compression artifacts multiply. Running an already degraded 80 KB file through another compression pass to reach 40 KB creates muddy pixelation fast.
Always work from your highest-resolution master asset. Squeezing a fresh 5 MB source file down to 50 KB produces a significantly cleaner result than re-compressing an old export.
Store clean masters of your raw captures and headshots in a safe archive folder. Performing single-pass exports directly from those masters guarantees crisp, professional results every time.
Forgetting Portal DPI and Color Profile Constraints
DPI requirements cause massive confusion for job applicants and designers alike. Dots per inch strictly dictates print resolution, yet many legacy portals still require a metadata tag of 200 or 300 DPI alongside a strict 100 KB limit.
When a portal asks for 300 DPI, you simply need to update that internal metadata flag without blowing up your pixel canvas. A modest 600x600 pixel image can carry a 300 DPI flag while weighing well under 50 KB.
Check your color space before uploading. Files saved with print-focused CMYK color profiles will display with washed-out, inverted colors once rendered inside web browsers.
Best Practices for Batch Processing and Quality Control
Handling large volumes of corporate headshots or expansive e-commerce inventory demands a structured, repeatable setup. You can't waste time nudging individual compression sliders image by image.
Putting consistent quality checks in place protects your visual presentation and keeps production running smoothly. Here is how seasoned professionals manage large-scale compression tasks.
Establishing Repeatable File Presets
Organize standard export thresholds across different project types. Set a hard 30 KB ceiling for user avatars, 150 KB for product catalog cards, and 350 KB for wide promotional heroes.
Clear standards take the guesswork out of the workflow for your entire team. Batch optimization tools can then process hundreds of assets against those defined criteria automatically.
Setting up standardized targets prevents mismatched visual styles, broken layouts, and slow-loading catalog grids across your site.
Systematic Visual Auditing
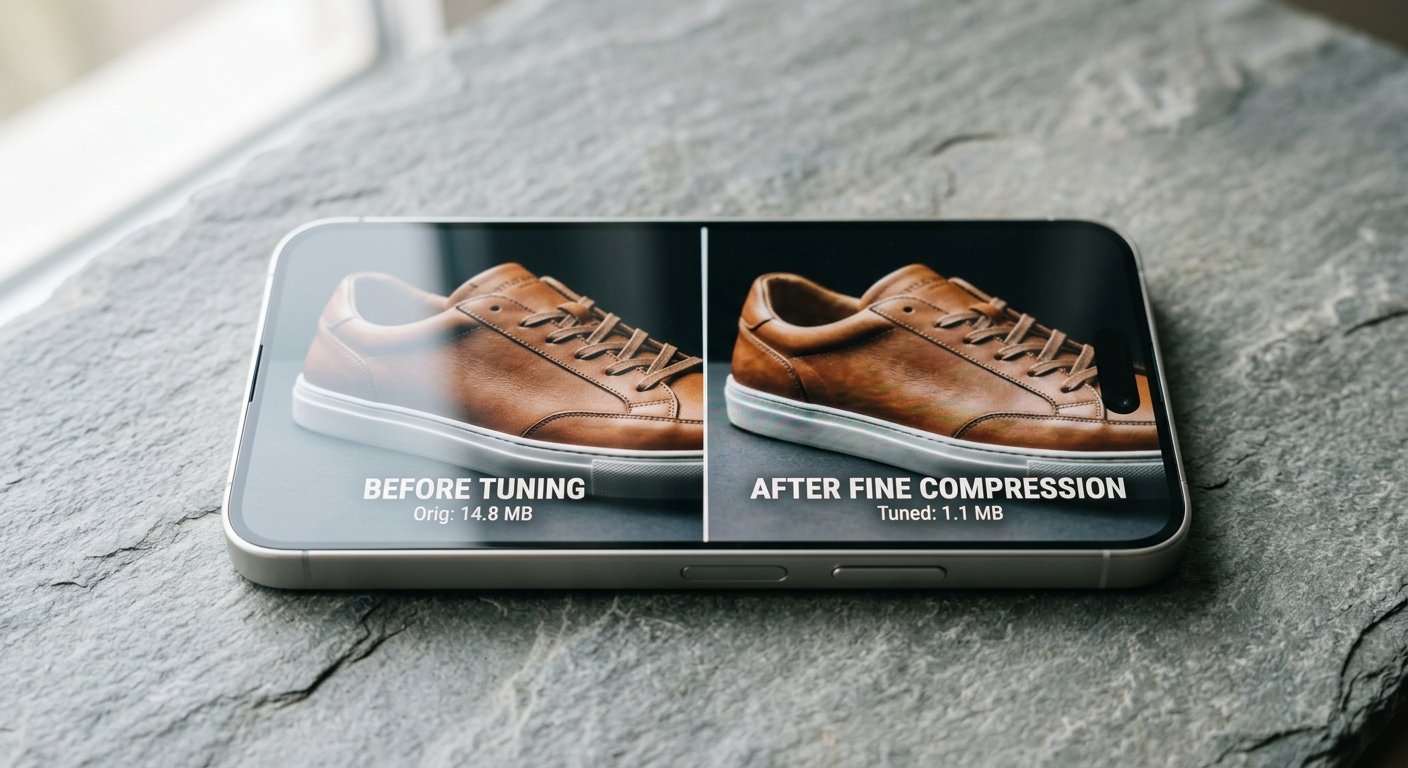
Never publish a batch of newly compressed images without running a quick visual sanity check. Pull up your compressed outputs side-by-side with the master files on a calibrated screen at full 100% zoom.
Check critical focal points: glance at eye highlights, sharp product text, brand logos, and fine hair boundaries. If you notice noisy ringing artifacts or broken gradients, bump your file size cap up slightly or trim down the canvas dimensions.
A fast thirty-second inspection catches nasty compression glitches before your users or clients ever encounter them in production.
Ready to level up your technical optimization chops and master image conversion under demanding production constraints? You can practice these skills with our free interactive modules to get direct experience balancing strict compression targets with razor-sharp image quality.
Frequently Asked Questions (FAQ)
How does a photo size converter in KB reduce file weight?
A photo size converter in KB reduces file volume by combining dimension scaling, metadata scrubbing, and lossy mathematical compression. It removes redundant color information and invisible EXIF tags while grouping visually similar pixels together, allowing the file to hit an exact kilobyte cap.
Will compressing an image to 50 KB make it blurry?
Not if you balance your dimensions properly. If you keep huge 4000x3000 pixel dimensions while forcing a 50 KB ceiling, severe blur occurs. But if you first scale dimensions down to 600x600 or 800x800 pixels, a 50 KB JPEG remains surprisingly sharp, crisp, and clean.
Why do government and exam portals demand images under 20 KB or 50 KB?
Government intake portals process millions of candidate records simultaneously. Enforcing tiny kilobyte limits prevents database overload, ensures lightning-fast document loading for verification officers, and minimizes infrastructure costs across national server setups.
What is the difference between image dimensions and image file size in KB?
Image dimensions refer to the physical count of pixels running horizontally and vertically across the canvas, such as 1920x1080. File size in KB measures the digital storage weight required to save those pixels to disk. Changing dimensions directly impacts file size, but you can also compress storage size without altering canvas dimensions.
Should I convert my file to PNG or JPG to get a lower KB size?
For photographic imagery and headshots, JPG or WebP will yield a far smaller kilobyte size than PNG. PNG uses lossless compression designed for line art, flat icons, and transparent graphics. Compressing complex photographic tones into a PNG results in much larger files.
Can I convert photo sizes in KB on mobile phones?
Yes. Browser-based platforms like MakeMyVisuals work directly inside mobile browsers on both iOS and Android. You can upload headshots straight from your phone camera roll, set your target size in KB, and download the optimized photo in seconds.
Optimize Your Images with MakeMyVisuals
Stop wrestling with clumsy trial-and-error tools and take control of your asset pipeline today. Head over to MakeMyVisuals to resize, compress, and refine your visual content in seconds flat.
Prepping critical passport forms? Tuning up an entire catalog inventory? Polishing responsive banners for top-tier site speed? Our automated processing tools deliver flawless, compliant results on every single export.
Related Guides & Articles
- How to Resize a Signature Image for Online Forms and Documents
- Reliance Digital’s Festival of Electronics Sale Launches with Major Discounts on iPhone 17 Pro
- How to Make a Photo Collage Online for Free Without Installing Software
- How to Combine Multiple Photos into One Image Online: The Complete Guide
- How to Create a Photo Grid Collage for WhatsApp and Social Media
- How to Make a Transparent Signature Image for Documents: A Simple Guide