How to Combine Multiple Photos into One Image Online: The Complete Guide
Why Combine Your Photos?
Sometimes, a single shot just doesn’t cut it. You might be building out a professional portfolio, pushing a fresh social media update, or highlighting specific product variations, but if one image can't do the heavy lifting, you need a smarter layout. Stacking multiple files helps you map out a clear narrative and keeps your audience locked in.
Telling a Cohesive Story
Visual storytelling is all about context. When you group similar photos, you’re building a sequence that guides the viewer through an experience rather than leaving them with a disconnected fragment. Think of it like a punchy comic strip or a mood board—it provides a layer of depth that a solo image just can't touch.
Space and Efficiency
Flooding a feed with ten separate posts is the fastest way to annoy your followers and get unfollowed. Combining photos into a clean, unified grid is more professional and infinitely more readable. It saves your followers precious scrolling time and keeps your overall aesthetic looking tight and intentional.
Choosing the Right Tools
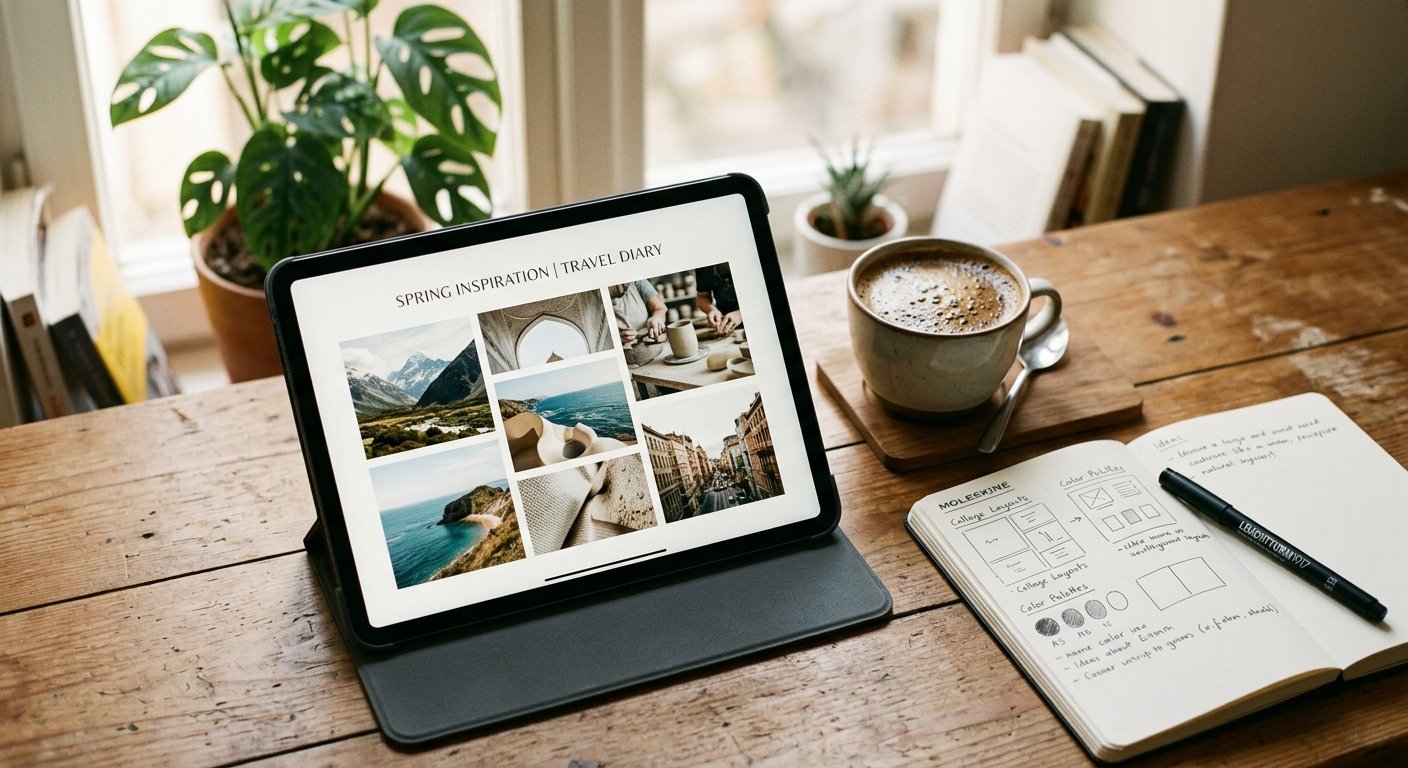
Not every editor is cut from the same cloth. You need a platform that balances real power with a low learning curve. While desktop-heavy software like Photoshop has its place, web-based tools offer a much faster lane for daily content creation and quick, high-impact edits.
Understanding Web-Based Flexibility
Online platforms have grown up fast. You no longer have to trade quality for the sake of speed. Most modern tools now chew through high-resolution files without breaking a sweat, ensuring your final export stays crisp and sharp, no matter the display.
Why MakeMyVisuals Stands Out
We believe editing should be intuitive, not a battle against the interface. Our collage maker is built to help you snap images together in seconds. It handles the backend heavy lifting so you can keep your focus entirely on the artistic arrangement.
Preparing Your Assets Beforehand
You can't build a stable house on a shaky foundation. Similarly, you won’t get a professional result if you’re trying to merge messy, low-quality source files. Proper prep work is the "secret weapon" that separates amateur posts from professional design.
Cleaning Up Your Images
Before you start merging, make sure every element is pulling its weight. If you’re working with a cluttered background, use a reliable background remover to isolate your subjects. A clean, isolated subject makes the entire final composition look instantly more polished.
Managing File Size and Format
Heavy files will only clog your workflow. Always check your image dimensions and compression settings before you open the editor. Use an image resizer to ensure your photos share a consistent aspect ratio right out of the gate. If your files are a mixed bag of types, keep our format converter handy to standardize everything into web-ready PNGs or JPEGs.
Step-by-Step: Merging Like a Pro
Begin by picking a layout that actually serves your goal. A vertical stack works wonders for side-by-side comparisons, while a traditional grid is better for displaying a full collection of items. Let the intended destination dictate your orientation.
Arranging Your Elements
Drag your images into the workspace and nudge them until they sit naturally. Resist the urge to fill every pixel; don’t be afraid of leaving some negative space. That breathing room helps separate individual images and keeps your design from looking cramped.
Refining the Edges and Borders
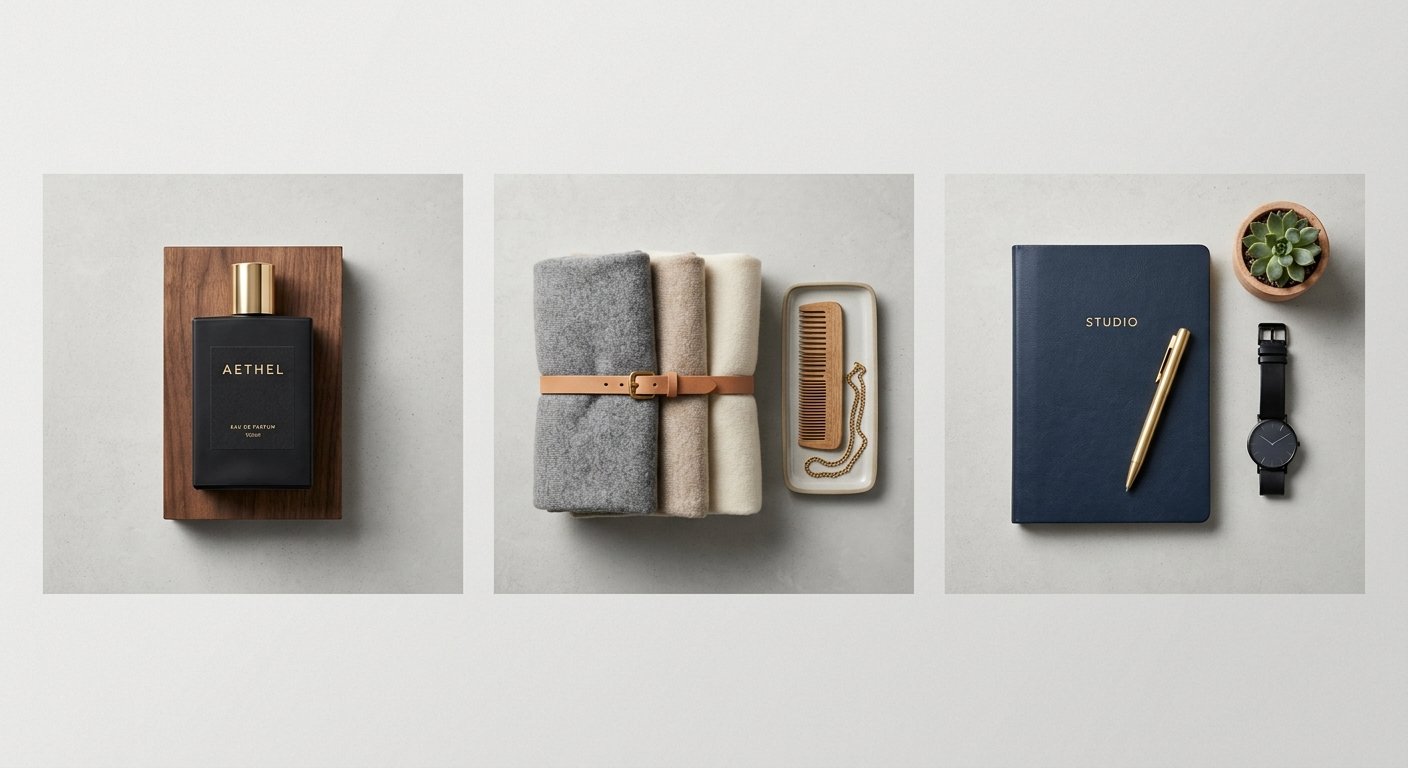
The transition between your photos makes or breaks the look. Use consistent border sizes or rounded corners to unify the whole design. If the photos still feel like they’re from different planets, apply a subtle, uniform filter or tweak the brightness across all layers to sync the color temperature.
Common Mistakes to Avoid
Novice designers love to cram way too much info into one frame. It creates visual fatigue and leaves the viewer confused about where to look. Stick to one clear theme and cut any photos that don't add real value to the story.
Ignoring Resolution Consistency
Mixing a crystal-clear, high-definition photo with a blurry, low-res shot is a major design red flag. Always try to match your source quality. If you absolutely have to use a grainy image, keep it small—don't let it become the centerpiece of your layout.
Neglecting Mobile Readability
Most of your audience is holding their phones right now. Avoid tiny text or overly complex grid patterns that vanish on a small screen. Test your output regularly and use tools that offer auto compress to keep your file sizes small and your load times lightning-fast.
Advanced Tips for Ecommerce
If you're selling goods, your images need to work for their living. A sharp side-by-side comparison of two products can drastically bump up your conversion rates. Just ensure the lighting in both shots is consistent, even if you took the photos on different days.
Highlighting Key Details
Use your composition to lean into the details. Combine a wide, lifestyle shot that shows the product in action with a tight, macro shot that shows off the texture or craftsmanship. Our product studio tools are built specifically to tackle these kinds of ecommerce requirements.
Batching for Consistency
Updating a massive catalog? Don’t edit them one by one. Use batch processing to ensure every single image follows your specific brand guidelines. Consistency builds trust, and trust is exactly what drives sales.
Best Practices for Final Output
Always export in the highest quality possible for the specific job at hand. If the image is destined for a website, run it through an optimization tool one last time. If you’re sending it to print, double-check that your DPI is cranked up high enough to avoid pixelation.
Saving Your Workflow
Keep your original, separate images organized in a dedicated folder. You never know when you’ll need to go back and re-edit a single piece of the puzzle. Never treat the flattened, combined file as your only master copy.
Regular Practice
Design is just like a muscle. The more you experiment with unconventional layouts, the sharper your eye becomes. Take a few minutes to explore our practice module to sharpen your skills without the looming pressure of a deadline.
Frequently Asked Questions (FAQ)
Can I combine photos without losing quality?
Absolutely. Just start with high-quality source images and use an editor that supports high-resolution, lossless exports. Avoid resizing the same image multiple times, as that’s the fastest way to introduce pixelation.
Is it better to use a grid or a free-form layout?
A grid is the gold standard for consistency and mobile-friendly readability. Free-form layouts offer more creative freedom for art, but stick to a grid when you’re building product catalogs or professional displays.
How do I handle images with different backgrounds?
Use an AI background remover to turn your subjects into PNGs with transparent backgrounds. This lets you place them on a single, unified background, which makes the whole collage look like one seamless shoot.
What if my photos have different lighting?
Tweak the brightness and contrast of each image to bring them into alignment. If they’re still clashing, throw a subtle, uniform color filter over the entire collage; it hides minor lighting discrepancies perfectly.
Does combining photos affect SEO?
Combining images can actually help your SEO by cutting down the number of HTTP requests on a webpage. Just make sure you compress that final file so the larger image doesn't end up tanking your site’s loading speed.
Are these tools free to use?
MakeMyVisuals offers a massive range of powerful tools that are easy to jump into. Whether you need a quick collage or a deep-dive image optimization, we have the right gear for your project.
Ready to bring your images together? Head over to MakeMyVisuals today and start building. From smart document assistants to professional ecommerce editing, we have everything you need to make your visuals stand out.
Related Guides & Articles
- How to Make a Photo Collage Online for Free Without Installing Software
- How to Create a Photo Grid Collage for WhatsApp and Social Media
- How to Make a Transparent Signature Image for Documents: A Simple Guide
- How to Make a Before and After Photo Collage Online
- Nothing Expands Audio Lineup with Premium Headphone (1) Pro
- Google Announces Fitbit Air Launch for Indian Market: A New Era of Discreet Health Tracking