How to Resize a Signature Image for Online Forms and Documents
Why Signature Dimensions Matter
You’ve finally finished scanning your handwritten signature. You try to upload it to a contract or an online portal, but the system hits you with an instant rejection. This happens constantly because document systems are obsessed with strict pixel dimensions and file size limits. Mastering how to handle these image files is the only way to keep your professional workflow moving without a hitch.
Most government portals and internal HR systems are picky about file integrity. If your image is too heavy, the system might choke, crash, or compress the file until it’s a blurry mess. If it’s too small, your signature ends up looking jagged and unreadable. Getting the sizing right is the absolute first step toward professional documentation.
Technical Requirements for Uploads
Online forms usually demand a specific aspect ratio. If your canvas is too wide or tall, your signature will get chopped off. You want a tight crop that isolates the ink from the surrounding white space, ensuring the digital form treats the file as a compact object rather than a massive background blob.
Resolution is the other major hurdle. While 300 DPI is the gold standard for high-quality printing, most web forms prefer 72 or 96 DPI to keep things lightweight. We see users constantly uploading massive, high-res images that take forever to process. Balancing visual clarity with file size is the secret to a seamless upload experience.
Handling Transparency and Backgrounds
A massive annoyance is when your signature carries a gray or off-white background box that covers up document text. This happens because the scanner picked up the texture of the physical paper. Using a background remover allows you to isolate the signature itself. By converting the result to a transparent PNG, you ensure your signature sits cleanly on top of any document lines.
Step-by-Step: Preparing Your Signature
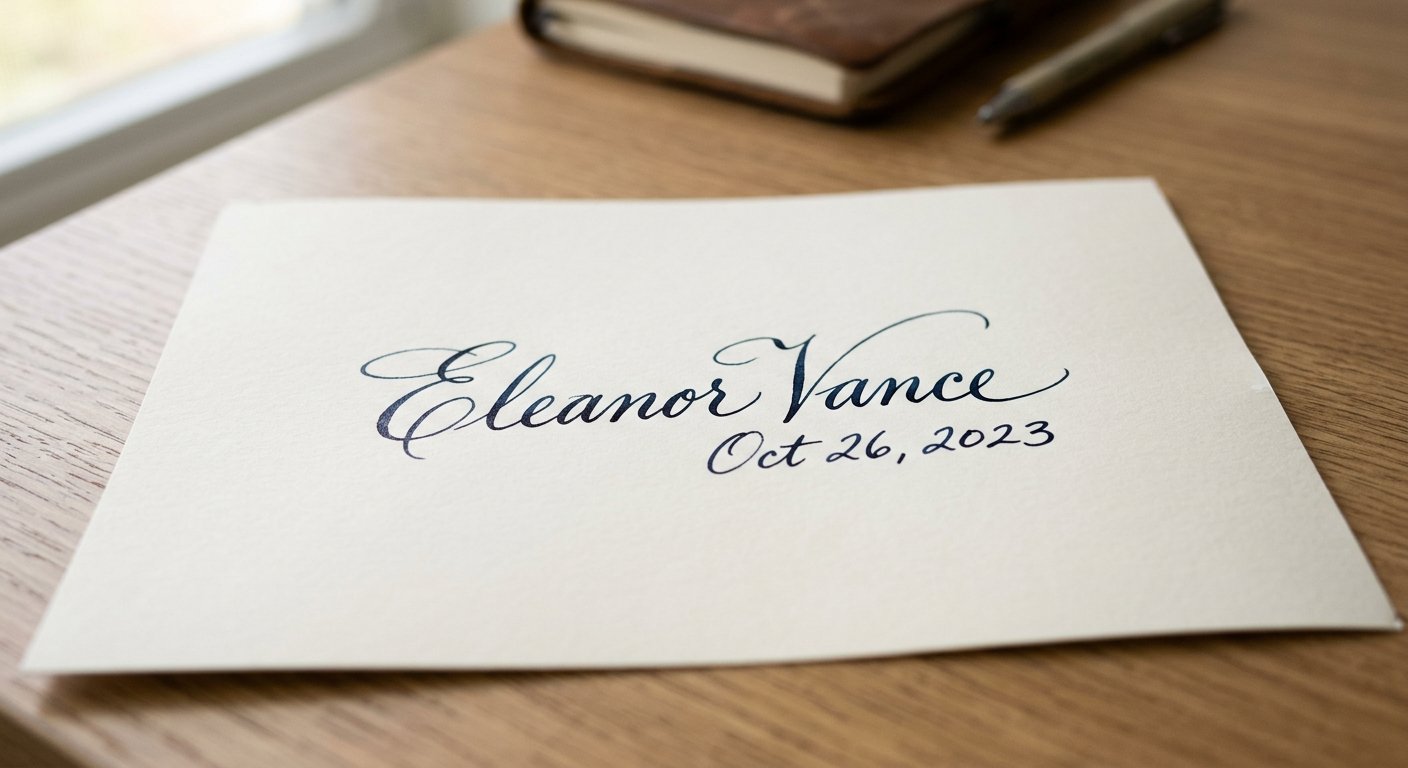
Before you touch the resize settings, you need to crop the excess white space. If your signature is sitting in the middle of a full-page scan, the software will struggle to calculate the correct proportions. Use a simple tool to trim the boundaries right up to the ink strokes.
Once that whitespace is gone, you’re left with just the mark itself. Now you have a clean slate to apply changes. A tight crop allows the resizing software to focus entirely on the resolution of the ink, which prevents unwanted distortion during the export phase.
Using an Image Resizer for Precision
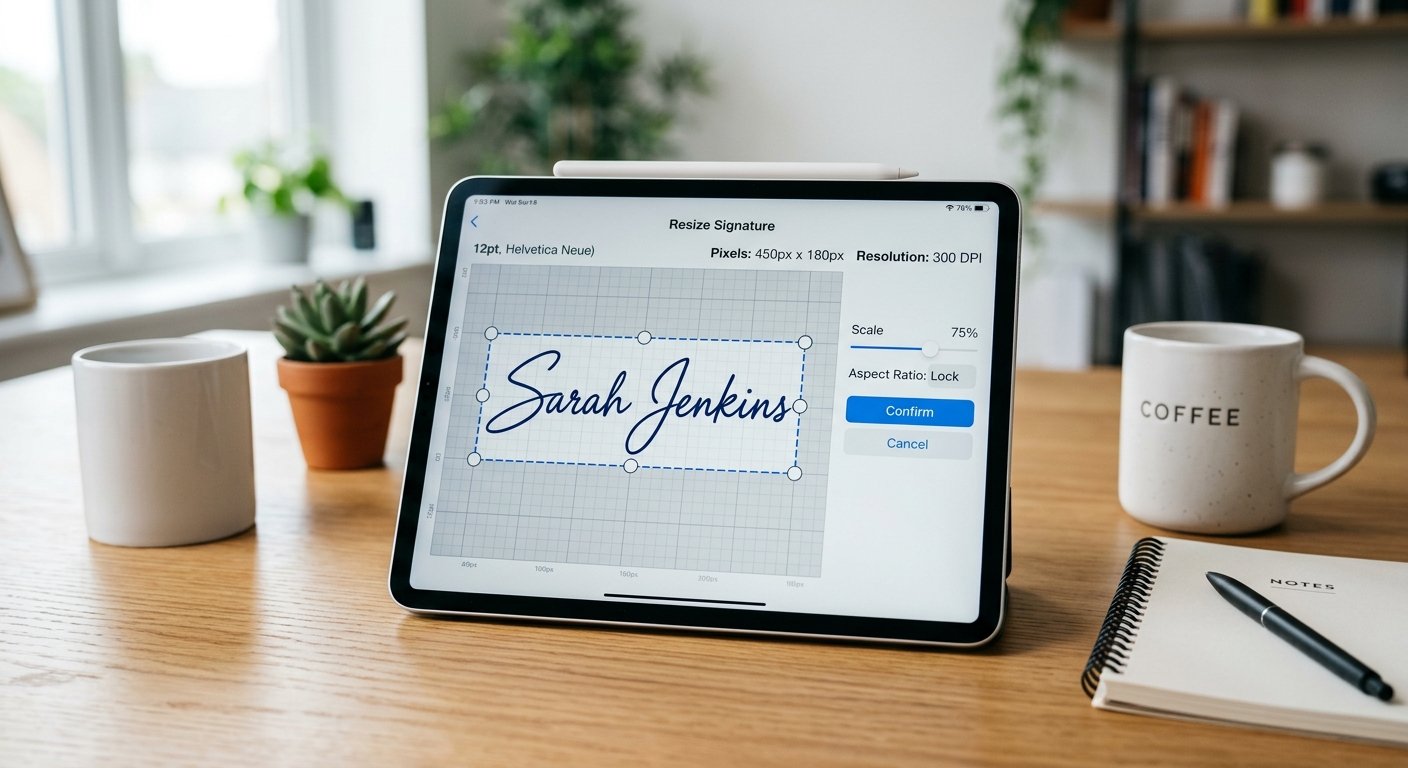
When you have a specific pixel limit, such as 300x150, you need an image resizer that allows for custom, manual input. Avoid dragging the corner handles of a generic image viewer; that almost always leads to non-standard, wonky aspect ratios. Precise numerical inputs guarantee your signature stays proportional and sharp.
Some systems also demand a maximum file size in kilobytes. If your image is perfect in dimensions but fails the size check, use an auto compress feature. This strips out excess data without sacrificing the visual quality of the ink.
The Role of Document Assistants
Sometimes, individual tools feel like a total hassle. If you have stacks of documents to process, a smart doc assistant can handle these constraints for you. It automates the process of checking dimensions and file types, letting you focus on the actual content of the paperwork instead of technical housekeeping.
Selecting the Right File Format
Not all formats are built the same for document signatures. JPEG is common, but it often creates "artifacts" or fuzzy, muddy edges around dark ink on a light background. This looks sloppy and unprofessional when you’re signing a legal or formal business document.
PNG is almost always the better choice. It supports transparency, meaning you can place the signature over lines or logos without a giant white block obstructing the view. Always check the requirements of the specific form you’re using, but default to PNG whenever you have the option.
Converting Between Formats
If you’re stuck with a TIFF or a BMP file, these are usually way too bulky for web forms. Use a high-quality format converter to swap these into a web-friendly version. A quick conversion to PNG or compressed JPEG keeps your workflow efficient and compatible with modern browser standards.
The Importance of Color and Contrast
If your signature scan is a pale gray, some systems might not read it as a valid mark. You may need to boost the contrast so the ink looks deep, solid black. While not strictly "resizing," this step ensures that after your resize, the signature is actually visible to the human eye once the document is finalized.
Best Practices for Digital Signatures
Consistency is key here. Don’t create a new signature image every time you need to sign a form. Keep one master version that you’ve already cleaned, cropped, and resized. Save this as a high-resolution PNG and keep it in a secure, accessible folder on your device.
Never use a blurry or low-light photograph of a signature. Lighting issues create "noise" in the image that makes it look like a low-resolution scan. If you must use a photo, ensure it’s taken in direct, even lighting before you even start the editing process.
Refining Edges for Professionalism
If you remove the background from a scanned signature, the edges might look a bit jagged. An online signature maker tool can often smooth these edges out automatically. This looks much more natural, as if the pen actually touched the digital page.
Security and Privacy Considerations
Your signature is a sensitive piece of biometric identity. Avoid uploading it to random, unencrypted, or public file-sharing sites. When using online tools, always ensure they are reputable. Processing your documents through secure, encrypted platforms is vital to preventing identity misuse.
Common Pitfalls to Avoid
The most common mistake is stretching the image. If your target field is wide but your signature is square, never force the image to fit by breaking the aspect ratio. This makes your signature look squashed or elongated, which can easily invalidate the appearance of your handwriting.
Another rookie error is forgetting to check the file extension. Some older, legacy forms only accept JPEGs. If you try to force a PNG into a slot that only wants JPEG, the system will reject it. Always verify the required file extension before you start the conversion process.
When Files Are Too Small
Increasing the size of an image that’s already too small will just lead to pixelation. If your original scan is too small, you cannot simply resize it upward. You have to go back to the source or rescan the signature at a higher resolution. Scaling up never works for fine-line details like a pen stroke.
Optimizing for Various Document Types
Government forms and banking applications have vastly different technical standards than a casual contract. Always check the "help" or "requirements" section of the portal. Some will explicitly tell you the exact pixel dimensions they need, such as 400x200 pixels.
Having a library of pre-resized signatures is a massive time-saver. You might keep a small version for mobile forms and a larger, higher-resolution version for printing or official PDFs. Tag these files clearly so you know exactly which one to grab when you’re in a rush.
Integrating Workflow Tools
When you handle signatures for a business, you might also be dealing with other branding assets. You can use a product studio or other design suites to ensure all your documents maintain a unified look. Treating your signature as part of your overall professional brand ensures consistency in everything you send out.
The Role of Practice
If you are new to image editing, take some time for a practice module. Trying to resize a signature for the first time while under a deadline is stressful. Learning how your tools respond to different compression settings helps you handle unexpected file requirements with total confidence.
Frequently Asked Questions (FAQ)
Why does my signature image look blurry after resizing?
Blurriness usually occurs when you upscale an image or use a lossy compression setting like a low-quality JPEG. Always start with a high-resolution scan, and if you must resize, do so by scaling down. Using PNG format preserves the crisp edges of the ink better than JPEG.
What is the ideal pixel size for a signature on a form?
While this varies, most online forms handle signatures well at dimensions between 300x150 and 600x300 pixels. This provides enough detail for the viewer to see the mark clearly without creating a file size that triggers upload errors.
How do I make my signature background transparent?
You can use a professional background remover to detect the contrast between your white paper and the ink. Once the background is removed, save the file as a PNG. This ensures the signature appears cleanly on any document background without a distracting white box.
Can I just use my phone to take a photo of my signature?
Yes, but you need to be careful. Use a bright, evenly lit area to avoid shadows. Ensure your phone is held directly parallel to the paper. After taking the photo, you will likely need to use an image editor to crop it, fix the contrast, and remove the background.
What should I do if the file size is too large for the portal?
If your dimensions are correct but the file size in KB is too large, use an auto compression tool. These tools reduce the amount of data in the file while keeping the visual quality intact, allowing your signature to pass the file size requirements of the portal.
Is it safe to upload my signature to an online tool?
It is safe as long as you use a platform that prioritizes user privacy and does not store your files indefinitely. MakeMyVisuals provides secure processing, ensuring that your document assets remain private while you perform the necessary edits.
Stop fighting with file formats and upload errors today. Whether you need to resize your signature, remove a distracting background, or convert documents for a strict online portal, our suite of tools is designed to handle the heavy lifting for you. Visit MakeMyVisuals and simplify your document management today.
Related Guides & Articles
- Reliance Digital’s Festival of Electronics Sale Launches with Major Discounts on iPhone 17 Pro
- How to Make a Photo Collage Online for Free Without Installing Software
- How to Combine Multiple Photos into One Image Online: The Complete Guide
- How to Create a Photo Grid Collage for WhatsApp and Social Media
- How to Make a Transparent Signature Image for Documents: A Simple Guide
- How to Make a Before and After Photo Collage Online