How to Make a Transparent Signature Image for Documents: A Simple Guide
Why Your Digital Signature Needs Transparency
In our modern paperless world, signing documents digitally has become a standard necessity. However, nothing screams unprofessional quite like a signature image that arrives with a jarring white box around it. When you drop a standard JPEG onto a contract, it often covers up grid lines or text, creating a clunky look that distracts from the actual content of your document. A transparent signature image blends seamlessly into any background, whether you are using a PDF, a Word document, or a professional contract platform. It’s the difference between looking like a tech-savvy professional and someone who just discovered the "insert image" button yesterday.
The Difference Between Solid and Transparent Files
When you save a signature as a standard JPEG, the computer records every pixel, including the blank white space surrounding your ink. If you need to move that image later, that "white space" travels with it, acting like a giant, unwanted sticker. By contrast, a transparent signature utilizes the PNG format. This allows the file to ignore the background, leaving only your ink lines visible. It is the gold standard for anyone who values clean, polished digital communication.
Professionalism and Document Integrity
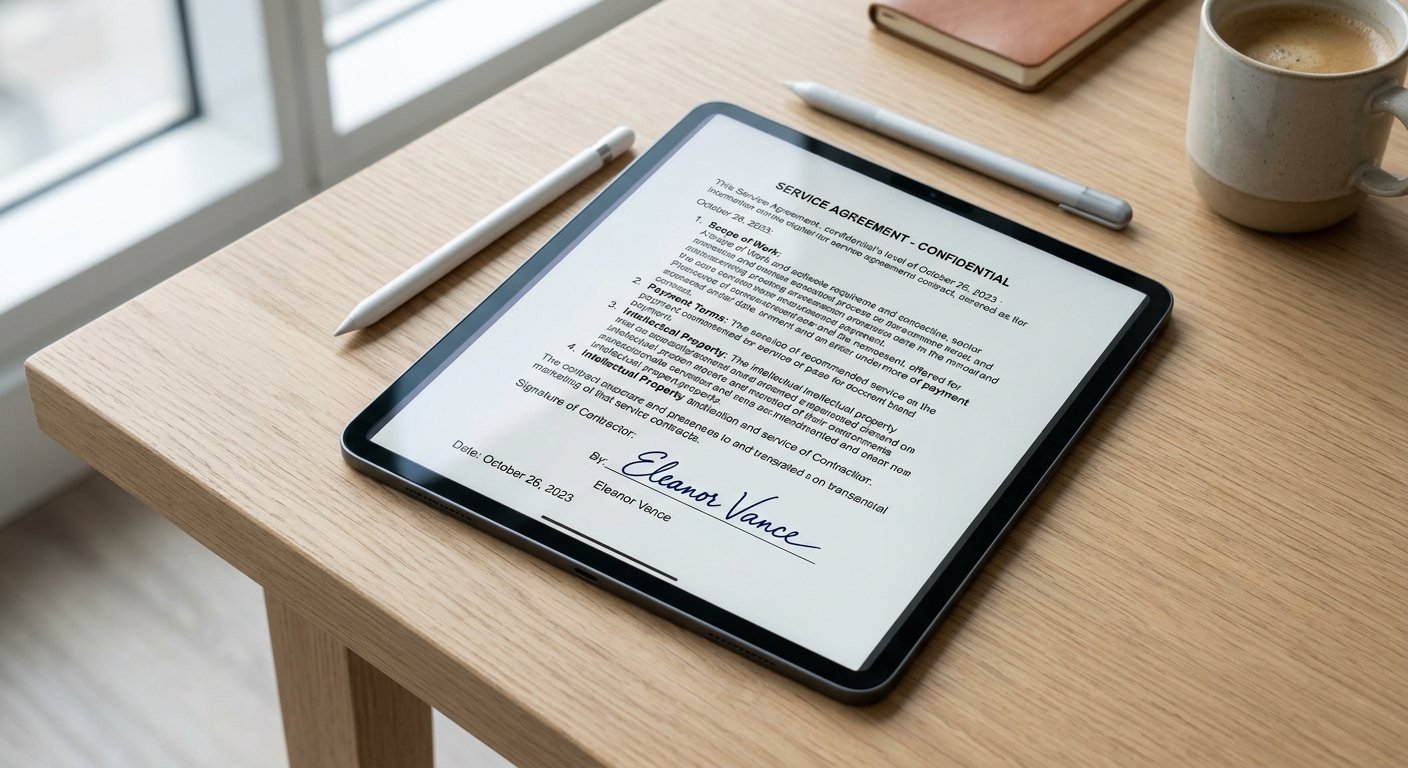
Using a transparent signature is not just about looks. It is about maintaining the integrity of your documents. When you place a non-transparent image over an existing form, you might inadvertently hide important document fields or lines, which can make your contracts look sloppy or even forged. A clean cutout ensures your signature sits perfectly on the line, just as it would if you had signed the page with a fountain pen in person. This small detail goes a long way in establishing credibility and showing that you pay attention to the finer points of your work.
Preparing Your Signature for Conversion
Before you run your signature through an AI background remover, you need a high-quality source file. If your initial image is blurry, poorly lit, or captured on a textured background, the software will have a harder time separating your pen strokes from the rest of the noise. Taking a moment to prepare your source image saves you significant time in the long run and prevents that jagged, "choppy" look that ruins a clean signature.
Tips for Capturing the Perfect Signature
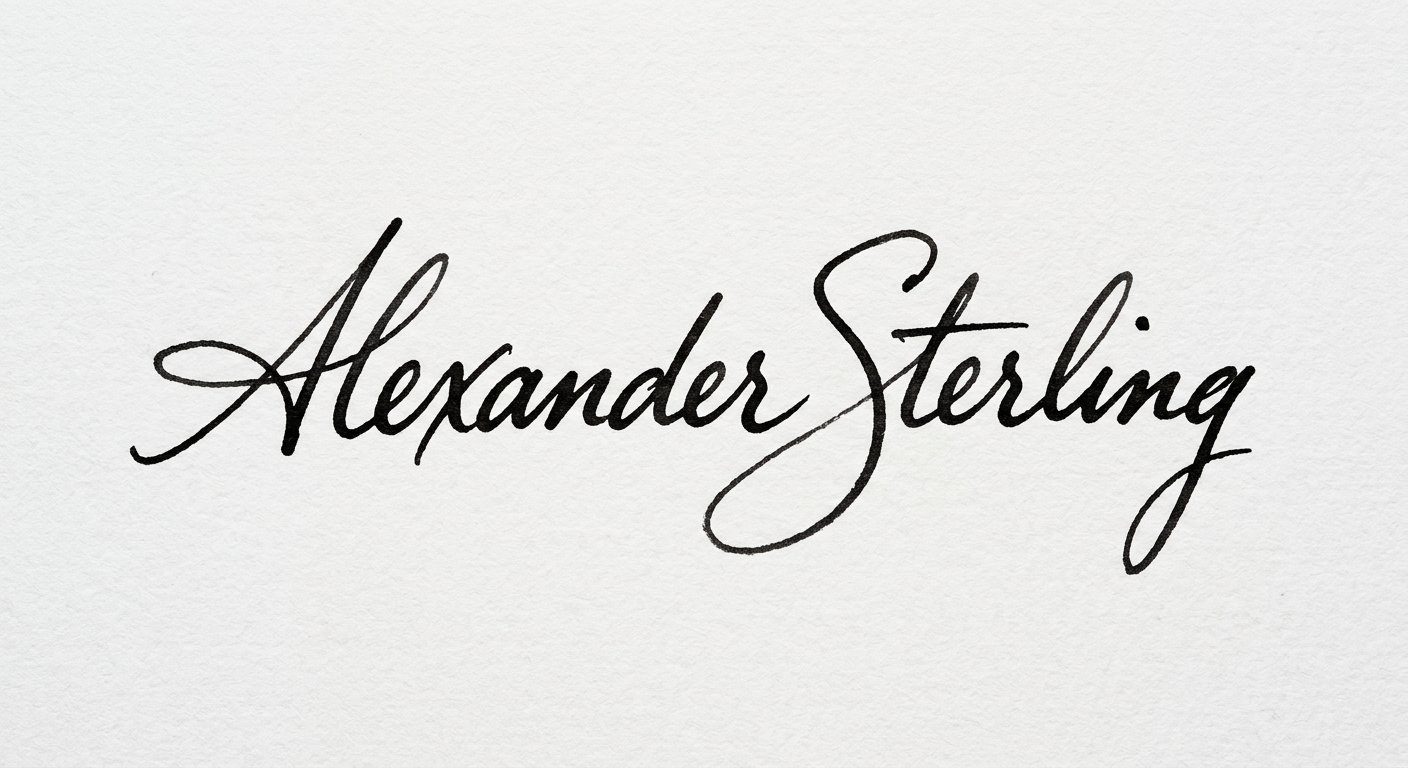
Find a piece of plain, bright white printer paper. Use a dark, bold ink pen—avoid pencil or light colors, as these lack the contrast necessary for clean edge detection. Write your name clearly in the center of the paper, ensuring there is plenty of whitespace around your signature. Good lighting is critical; shoot your signature in natural daylight to avoid ugly yellow shadows or harsh glares that confuse digital tools. If your lighting is muddy, your AI tool will struggle to distinguish between the ink and the paper, leading to a messy result.
Digitizing Without Complications
You do not need a fancy scanner to capture your signature. Your smartphone camera works perfectly fine for this task. Simply place your paper on a flat, well-lit surface and align your camera parallel to the paper. Avoid taking the photo at an angle, as this distorts the letters and makes them look thin or stretched. Once captured, transfer the image to your computer or upload it directly to your preferred editing platform to start the process.
How to Use an AI Background Remover for Signatures
Modern technology has simplified the process of creating a transparent PNG creator experience. Instead of spending hours in complex photo editing software, you can now use specialized tools that handle the heavy lifting for you. These AI-driven tools identify the dark pixels of your ink and subtract the light pixels of the paper automatically. It’s fast, precise, and removes the need for technical design skills.
The Step-by-Step Workflow
First, upload your raw image to a reliable tool like the background remover on MakeMyVisuals. The AI will scan the file and isolate your signature from the white paper background. Once the process is finished, you should see a checkerboard pattern appearing behind your name; this signifies that the background is now fully transparent. Review the edges to ensure no thin, ghostly artifacts remain around your strokes.
Refining the Edges for a Crisp Look
Sometimes, if your lighting was slightly inconsistent, you might see a faint edge around the signature. Look for an edge refiner tool or a manual eraser if the AI left behind a stray speck. You want the signature to look sharp enough that it looks like it was printed directly onto the digital document. If the edges are too jagged, consider increasing the contrast of the original photo before uploading it again, which helps the AI draw a harder line between your ink and the paper.
Optimizing Your Signature for Different File Formats
Once you have your clean, transparent PNG, you might run into scenarios where the file size is too large or the format is incompatible with your specific document software. While PNGs are excellent for transparency, they can sometimes be bulky if they are high-resolution. Knowing how to balance quality with file size is a critical skill for any digital professional, especially when emailing large contracts.
Using an Image Resizer for Consistency
If your signature is too large, it might throw off the alignment of your digital contracts. Use an image resizer to scale your signature down to a reasonable size. A signature that is around 300 to 500 pixels wide is usually perfect for most document templates. Keeping the proportions locked during this step prevents your signature from looking stretched or squashed, keeping your professional branding consistent.
Compressing Files Without Losing Clarity
You may also find that certain online portals have strict upload limits for documents. An auto-compress tool is your best friend here. It shrinks the file size of your signature image by removing non-essential metadata without compromising the visible clarity of your ink lines. This ensures your signature loads instantly and meets the technical requirements of even the most restrictive online portals.
Common Mistakes to Avoid During Creation
Even with great tools, it is easy to make small mistakes that impact the final result. Understanding these pitfalls allows you to avoid them entirely. One of the most common issues is uploading an image that is too low in contrast, which makes the background removal process sloppy and imprecise. Don't let your signature suffer from "low-res fatigue."
- Avoiding blurry photos: Always re-shoot if your image isn't pin-sharp.
- Checking for shadows: Shadows act like colors to AI tools and often get left behind.
- Choosing the right file format: Only use PNG for transparent files; JPEGs will automatically add a white background back in upon saving.
- Over-processing: Don't push the contrast so high that your signature looks pixelated or "blocky".
Best Practices for Storing Your Transparent Signature
Once you have the perfect transparent signature, store it in a secure, easy-to-access folder. You do not want to go through this process every single time you need to sign a document. Name the file something clear like 'Digital_Signature_Transparent.png' and keep it in a cloud-synced folder so you can reach it from any device, anywhere. Being prepared means being efficient.
Maintain High-Resolution Master Files
Always keep a high-resolution version of your signature as a master file. If you ever need to create a version for a billboard, a professional proposal, or a large-format print, you will be glad you didn't only keep a tiny, compressed version. You can always use a format converter if you suddenly need a different file type later on.
Security Considerations
A signature is a sensitive piece of personal identification. Don't leave your transparent signature file sitting in an unencrypted or public-facing folder. If you work in a corporate environment, store your signature in a password-protected directory or use a secure digital document management system to prevent unauthorized access. Treat your digital signature with the same security protocols as your physical checkbook.
Leveraging Advanced Document Tools
Creating a signature is just the start. If you handle a lot of paperwork, you can streamline your entire workflow by using a smart doc assistant. These tools can help you organize your signed contracts, convert documents into preferred formats, and ensure every page you send out looks perfectly professional. It's about building a digital office that works as hard as you do.
From Signature to Final Document
The goal is to move from "paper-based" to "digitally-native" as seamlessly as possible. By having your transparent signature ready to go, you can sign documents in seconds. This speed allows you to respond to emails and contracts faster than your peers, which can be a significant advantage in competitive fields like law, real estate, or freelancing. Efficiency is a competitive edge.
Frequently Asked Questions (FAQ)
Can I make a transparent signature without Photoshop?
Absolutely. You do not need expensive software or advanced design skills. Tools like the MakeMyVisuals background remover allow you to achieve professional-grade transparency in seconds through your web browser.
Why does my background turn black after I save?
This happens when you save a file as a JPEG. JPEGs do not support transparency layers and will automatically fill that space with a solid color. Always ensure you are saving your work as a PNG file to preserve the transparent background.
What is the best pen to use for a digital signature?
Use a black, felt-tip, or gel pen. These pens create a consistent, bold line that is easily picked up by image processing algorithms, unlike ballpoint pens which can be too faint, scratchy, or inconsistent for the software to "read."
How do I make the signature look more authentic?
The key is avoiding extreme "sharpening" filters. Once the background is removed, leave the edges slightly soft rather than perfectly geometric. This mimics the way ink naturally soaks into real paper and makes the digital signature feel more human.
Can I batch create signatures for different documents?
If you need to manage multiple variations, you can use our signature maker to generate different styles or sizes for specific document types, ensuring you always have the right tool for the job.
Is it safe to upload my signature to an online tool?
At MakeMyVisuals, we prioritize your security. We use secure processing, and your images are treated with privacy in mind. Always ensure you are using trusted, reputable platforms when dealing with personal identity documents—avoid questionable free sites that don't value your data.
Ready to elevate your digital paperwork? Stop settling for clumsy, white-boxed signatures. Visit MakeMyVisuals today to use our suite of professional tools and transform your workflow with just a clean, transparent signature image. It’s time to make your digital presence as sharp as your professional reputation.
Related Guides & Articles
- How to Make a Before and After Photo Collage Online
- Nothing Expands Audio Lineup with Premium Headphone (1) Pro
- Google Announces Fitbit Air Launch for Indian Market: A New Era of Discreet Health Tracking
- How to Create a Photo Collage for Instagram Posts and Stories
- How to Create a Digital Signature Online for Free
- Realme 16 Pro Harry Potter Edition Debuts to High Fan Expectations