How to Create a Photo Grid Collage for WhatsApp and Social Media
Why Photo Grids Still Rule Social Media
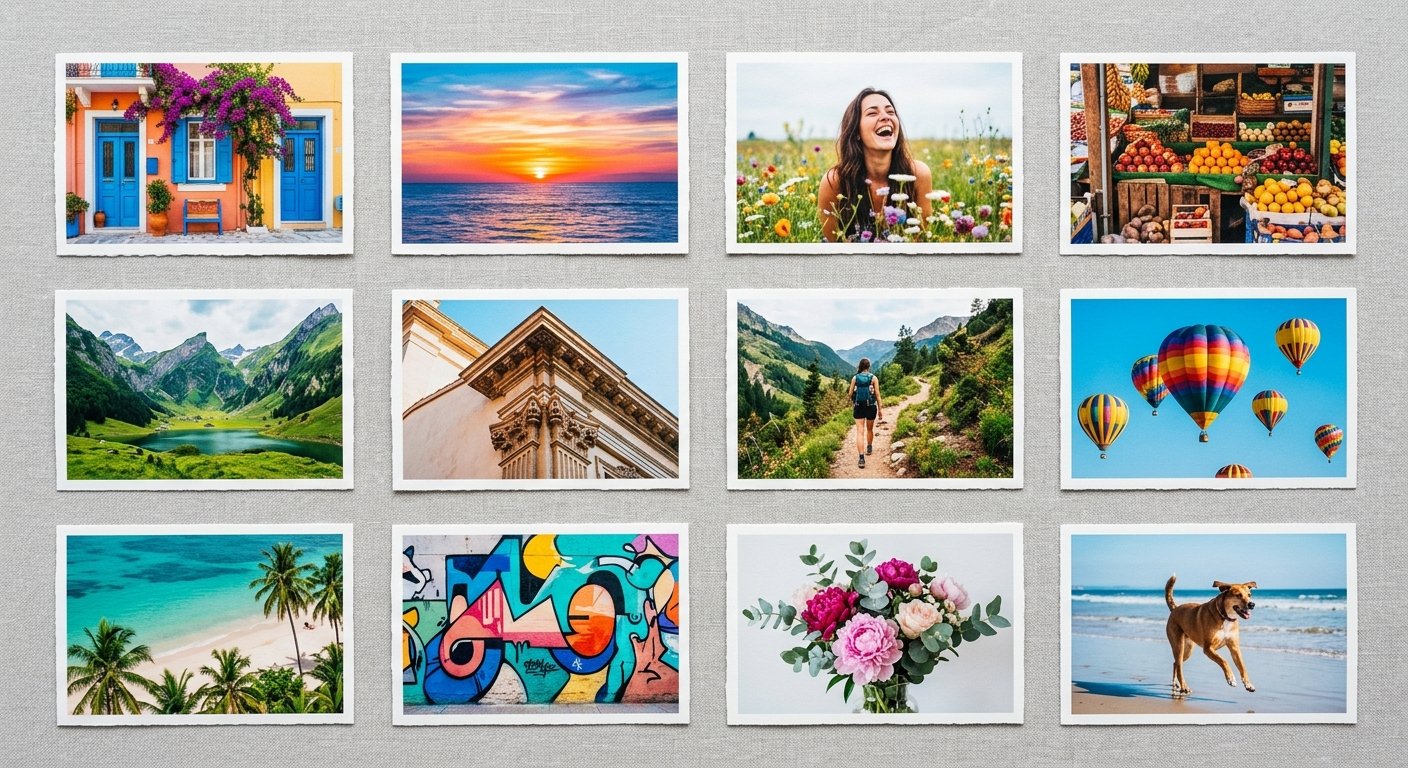
Sharing multiple photos in a single frame remains the undisputed champion of social storytelling. Whether you’re documenting a weekend getaway, highlighting small business inventory, or firing off a birthday greeting on WhatsApp, a sharp, cohesive photo grid beats a disorganized stream of individual posts every time. It’s about keeping your feed tight, intentional, and clutter-free so your followers actually want to stop and look.
The Power of Visual Storytelling
A well-built collage draws the eye in instantly. When you group your images, you aren’t just sharing content; you’re building a narrative arc. Instead of pushing one lonely product shot, you provide context, zoom in on the finer details, and present the final result in one cohesive view. This total-package approach builds genuine trust because it feels curated rather than like an accidental photo dump.
If you're running an online shop, using a product studio to prep your assets before building a collage is a game-changer. Consistent lighting and framing make your grids look like high-end editorial spreads rather than amateur snapshots. It’s the difference between a messy feed and a polished brand aesthetic.
Choosing the Right Grid Layout
Your layout is the skeleton of your design. Do you crave the clean, Zen-like appeal of a perfect symmetrical grid? Or maybe you want a dynamic, asymmetrical layout to spotlight a singular "hero" shot? Start by keeping the platform in mind. WhatsApp statuses demand vertical or square orientations, while Instagram grids thrive on strict, uniform consistency.
Step-by-Step: Creating Your Custom Grid
Forget the myth that you need a degree in graphic design to make things look good. With the right collage maker, you can drag-and-drop your way to a professional finish in just a few minutes. The secret is preparation. Stop tossing random images into a template; pick photos that share a common vibe, color palette, or thematic thread to ensure the collage feels unified.
Selecting and Preparing Your Images
High-quality source files are non-negotiable. If you’re working with busy photos that have cluttered backgrounds, reach for an AI background remover. Removing the noise allows your subjects to pop the moment they sit side-by-side in your grid.
Also, keep an eye on your file sizes. If a collage feels sluggish when loading, it’s almost always because the source files are too heavy. Use an auto compress tool to trim the fat for mobile screens without sacrificing visual sharpness. Your followers will appreciate the instant load times.
Assembling the Collage
Once your images are polished, load them into your grid tool. Start with the center image—think of it as your anchor point. Place your most compelling or high-contrast shot in the middle or the top-left slot, then fill the gaps with supporting shots that show secondary details or different angles.
Fine-tune the spacing. Too much white space kills the momentum, making images feel disconnected, but zero space creates a cramped, suffocating design. A padding of 10-15 pixels is usually the sweet spot for mobile; it keeps things organized while ensuring the images remain clearly defined.
Refining Your Visual Content
Once the grid is built, you’re not quite at the finish line. You need to ensure the final output plays nice with your platform of choice. Social networks have wildly different compression engines, and a one-size-fits-all export almost never survives the upload process perfectly.
Adjusting Aspect Ratios for Platforms
WhatsApp statuses live or die by the vertical format. If your collage is a landscape rectangle, it’s going to get cropped awkwardly by the app. Use a smart image resizer to snap your design into a 9:16 aspect ratio before you hit post. This keeps the composition exactly as you intended.
If you run into a file format mismatch, don't sweat it. A quick pass through a reliable format converter is all you need. Switching to PNG or JPG ensures universal compatibility across all devices, so you never have to deal with blurry, "broken" looking uploads.
Color and Tone Consistency
Mixing warm-toned photos with cool, clinical ones in the same grid is a recipe for a visual disaster. It looks sloppy. If you have a killer photo that’s just slightly off-color, use a recolor tool to nudge the tones into harmony. Small tweaks to saturation and contrast go a long way in gluing the whole aesthetic together.
Advanced Tips for Professional Results
If you’re ready to graduate from basic grids, look into adding subtle branding or text. Business owners should definitely consider a watermark. Use a signature maker to craft a custom mark that sits cleanly in the corner. This ensures your brand identity travels with your content wherever it gets shared.
Managing Image Weight and Performance
Ultra-high-res photos are impressive, but they can be an absolute nightmare for data plans. Prioritize speed. When you compress your final collage, find that balance between file size and raw sharpness. Most eyes can’t tell the difference between a massive 5MB file and a lean, optimized 500KB version, but they’ll definitely notice if your post takes ten seconds to load.
Handling Text and Documentation
Sometimes you need to include receipts, contracts, or text-heavy documents in your collage. If legibility is the goal, use a smart doc assistant. This enhances the contrast and clarity of the text before you drop it into the grid, making sure your important info stays readable.
Common Mistakes to Avoid
Don't fall into the trap of over-processing. If you drown your images in heavy filters or add thick, distracting borders, you lose the natural beauty of the original shots. Keep the design simple and let the photography speak for itself. Another cardinal sin is overcrowding.
- Avoid cramming more than 4-6 photos into a single mobile grid.
- Ditch the busy, cluttered backgrounds unless they serve a specific, artistic purpose.
- Check your alignment religiously—even a single pixel off-center can make a high-quality grid look amateur.
- Never export at the lowest quality setting; it immediately cheapens your brand.
- Stop using low-resolution, blurry screenshots of photos when you have access to the original files.
Best Practices for WhatsApp and Beyond
WhatsApp is an intimate channel, so your collages should feel authentic, not like a corporate flyer. Skip the rigid, overly branded layouts when you’re messaging friends. Lean into warm tones and balanced, natural compositions. On Instagram or Facebook, you have more room to experiment with edgy or asymmetrical layouts.
Always remember that social media platforms love to update their display standards without warning. What performs perfectly today might break tomorrow. Staying flexible with your editing workflow is your best insurance policy. Keep your original, high-res files tucked away in a folder so you can re-export them whenever the platform dimensions shift.
Developing Your Creative Workflow
Great creators don't rely on luck; they rely on systems. Don't wait until the last second to hack together a post. Spend some time in a practice module to get truly comfortable with your tools. When you master the mechanics, you stop "fixing" photos and start crafting a vision.
Make this process intuitive by spending 10 minutes a day playing with layouts and editing styles. Soon, you’ll be able to whip up a beautiful, branded collage in under two minutes. That kind of speed allows you to stay consistent with your posting schedule, which is the single biggest factor for growth on any social platform.
Frequently Asked Questions (FAQ)
How do I make my photo grid look professional?
Professionalism is purely about alignment and consistency. Ensure all your photos share similar brightness and color temperatures. Use a grid tool with precise spacing controls so your images look deliberate and balanced, rather than like they were randomly thrown together.
Can I resize my collage for different social platforms?
Absolutely. Once your main collage is done, use an image resizer to tweak the dimensions for Instagram Stories (9:16), Facebook (1:1), or WhatsApp (vertical). This keeps your quality high while meeting the platform’s specific layout demands.
What is the best file format for sharing collages?
For most social apps, JPEG is the gold standard—it offers a great balance between file size and visual quality. If you’re working with designs that feature lots of text or sharp graphics, PNG is usually the better choice for keeping the edges crisp. Use a converter if you need to flip between them.
Should I remove backgrounds before making a collage?
If you want a modern, clean look—especially for products—removing backgrounds is highly recommended. It allows you to layer your subjects against a uniform background or create overlapping layouts without the visual noise of competing, cluttered backgrounds.
How do I ensure my collage doesn't lose quality when sharing?
The secret lies in your export settings. Don't over-compress your work. If you're sending via WhatsApp, keep the total file size under 5MB. Going over that threshold usually triggers the app’s aggressive auto-compression, which is the main culprit behind quality loss.
Does MakeMyVisuals support batch processing for multiple images?
Yes, our tools are built for efficiency. Whether you need to resize, convert, or perform batch background removal, our platform is designed to handle multiple files at once. Spend less time in the editor and more time engaging with your audience.
Ready to level up your social media presence? Whether you’re scrubbing background noise from product shots, resizing your latest grid for a new platform, or polishing your images to perfection, MakeMyVisuals has exactly what you need. Explore our full suite of professional editing features and start creating stunning visuals today at MakeMyVisuals.
Related Guides & Articles
- How to Combine Multiple Photos into One Image Online: The Complete Guide
- How to Make a Transparent Signature Image for Documents: A Simple Guide
- How to Make a Before and After Photo Collage Online
- Nothing Expands Audio Lineup with Premium Headphone (1) Pro
- Google Announces Fitbit Air Launch for Indian Market: A New Era of Discreet Health Tracking
- How to Create a Photo Collage for Instagram Posts and Stories