How to Make a Before and After Photo Collage Online
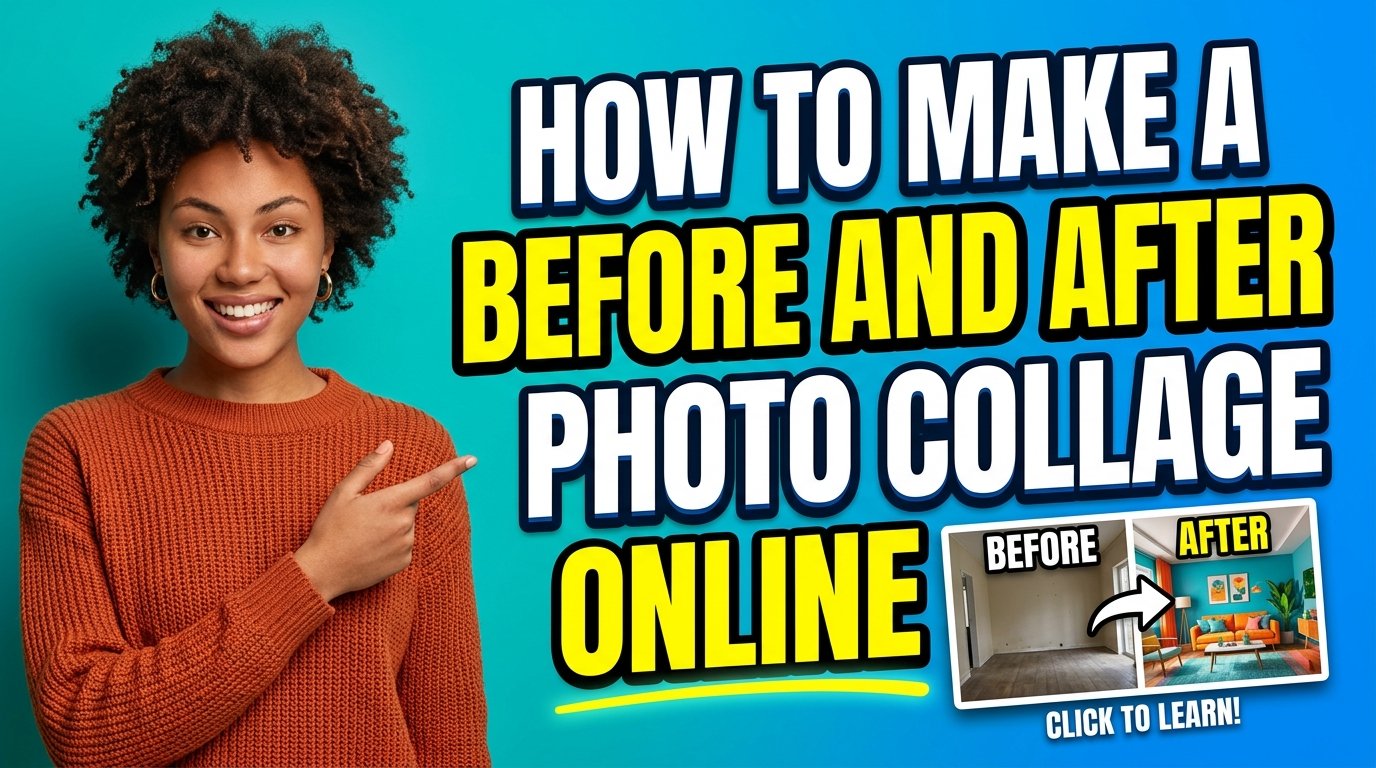
Why Before and After Collages Matter
Visual proof is the absolute currency of the digital age. Whether you’re showing off a complex home renovation, a dramatic fitness shift, or a sleek graphic design overhaul, nothing cuts through the noise faster than a side-by-side comparison. People process visuals thousands of times faster than text, so grabbing eyeballs with a clear, high-impact contrast is your best bet for real engagement.
Capturing User Attention Instantly
Human beings are wired to notice change. We’re naturally curious about the arc from a rough, unpolished starting point to a refined, finished state. A well-executed collage packs that entire narrative into a single frame. Without this visual shorthand, your audience will likely blow right past your updates, completely missing the effort and skill you poured into the project.
Establishing Authority Through Results
Presenting your work with a clean, deliberate layout sends a strong signal: you care about quality. Sloppy, uneven alignments act as a distraction, cheapening the result you’re trying to showcase. By relying on a professional collage maker, you ensure your branding stays locked in while putting the spotlight exactly where it belongs—on your impressive results.
Preparing Your Images for Maximum Impact
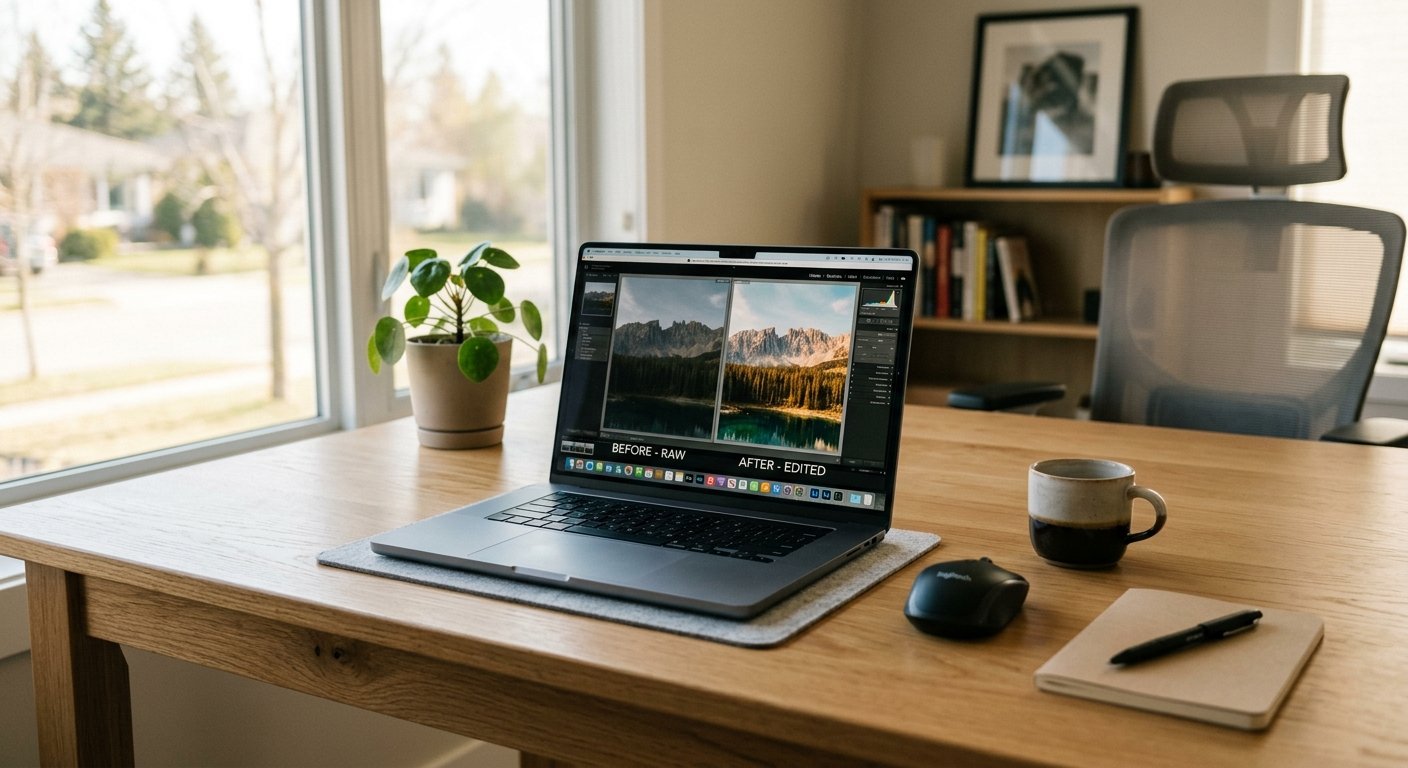
Don't rush into the assembly phase until your source images are sharp. Garbage in, garbage out—high-quality inputs are the only way to get a high-quality final product. If your photos have wildly different lighting or messy, chaotic backgrounds, the finished comparison will look amateurish rather than intentional.
Cleaning Up Your Backgrounds
Often, a "before" shot is plagued by a cluttered background that fights for attention. Use a professional-grade background remover to strip away the noise. This forces the viewer’s eye to lock onto the actual subject, whether it's a product repair or a portrait touch-up.
Optimizing Image Size and Quality
Heavy, unoptimized files turn your website or social feed into a sluggish mess. It’s crucial to use an image resizer so both halves of your collage share the same dimensions. After resizing, running your files through an auto-compress tool ensures your site loads with lightning speed, keeping users from bouncing due to wait times.
How to Make a Before and After Photo Collage Online
You don't need a bloated, expensive design suite to get great results. Our workflow prioritizes speed and raw accessibility. Follow these steps to build a layout that looks like it came straight out of a high-end design studio.
Step 1: Choose Your Layout
Start by picking a simple, balanced horizontal or vertical split. Resist the urge to go wild with complex, busy templates that fight with your content. Keep the border between your photos razor-thin—your work should be the star of the show, not the frame.
Step 2: Upload and Align Your Images
Drop in your raw "before" shot and your final "after" image. If your subject feels slightly off-center in one, use alignment tools to sync the focal point across the divide. Consistency in framing is the secret sauce that makes a transition feel believable and professional.
Step 3: Final Touches and Export
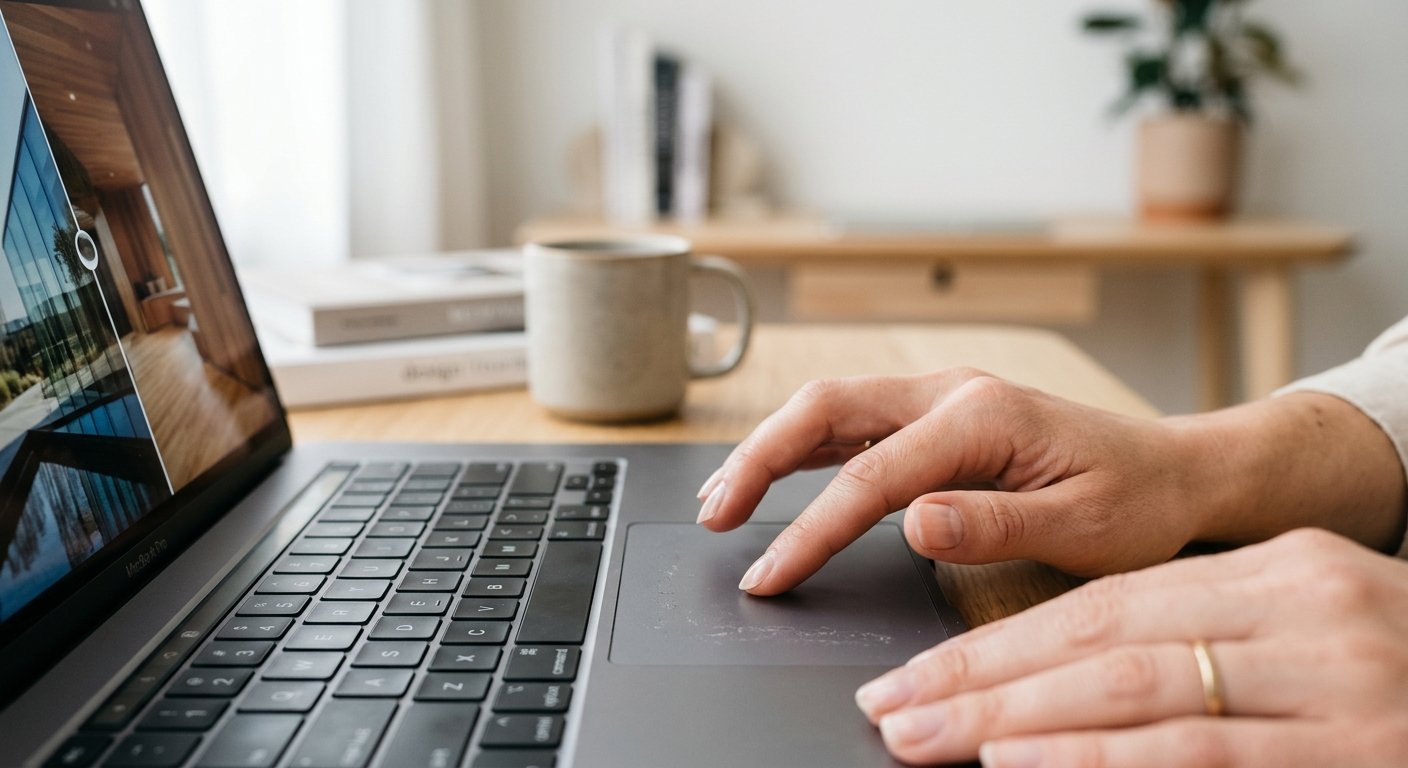
Once the layout feels right, it’s time to finalize your export. Need a specific file type? Use a format converter to toggle between PNG, JPG, or WebP seamlessly. Always save at the highest possible resolution to keep your work looking crisp across any device.
Best Practices for High-Conversion Visuals
Not every collage lands the same way. The way you stage your photos and the subtle edits you make determine how your audience interacts with your work. Apply a little strategy, and you’ll find it’s much easier to turn passive viewers into active leads.
Keeping the Lighting Consistent
A classic amateur mistake is pairing a dark, poorly lit "before" shot with an over-bright "after" photo. Even if the change is real, it looks like a cheap digital filter. Try to match the brightness levels slightly so the viewer stays focused on the actual transformation, not the weird gap in camera exposure settings.
Focusing on the Subject Matter
If you're dealing with portraits or fashion, make sure the subject feels human and natural. Sometimes, tools that recolor cloth or fix minor skin blemishes can add that extra polish. Just don't over-process the life out of the image; trust is everything in these comparisons, and authenticity wins every time.
Common Pitfalls to Avoid
Beginners often try to cram too much into one space. A before and after comparison is most effective when it’s simple and punchy. Stay away from slapping on extra text overlays that cover up the actual work you're trying to highlight.
Avoid Low-Resolution Assets
Nothing screams "unprofessional" like a blurry, pixelated image. If your source files are rough around the edges, use our product studio tools to sharpen them before building your collage. Crisp, clear images build far more confidence than blurry placeholders ever could.
Don't Ignore Mobile Experience
Most of your traffic is coming from a phone. Ensure your layout is vertical or responsive so it doesn’t shrink to a tiny, unreadable thumbnail on mobile screens. Generally, a thin aspect ratio is a much smarter choice for mobile feeds than a wide horizontal format.
Leveraging Advanced Editing Tools
Once you’ve nailed the basics, start experimenting with more advanced techniques. Sometimes a side-by-side isn’t enough to explain a complex evolution, like a document change or a multi-step product refinement.
Using Smart Tools for Accuracy
When you're comparing document-heavy workflows, lean on our smart doc assistant to keep things looking sharp. If you need to put a personal stamp on your final output, try adding a digital signature with our signature maker to brand your assets uniquely.
Iterative Design and Practice
Design is a muscle—you have to use it to get stronger. Don't be afraid to hop into our practice modules to test out different layouts and styles. The more you tinker, the faster you'll become at pumping out high-end marketing collateral for your brand.
Frequently Asked Questions (FAQ)
Can I make a collage for free?
Absolutely. Our platform is built to be accessible to everyone. You can create professional-grade before and after collages using our free toolset right now, no strings attached.
Do I need to download heavy software?
Nope. Everything is handled directly in your browser. Since our platform is cloud-based, you save your hard drive space and skip the headache of installing resource-heavy software.
What if my photos are different sizes?
That’s exactly what our image resizer tools are for. You can easily normalize your source photos before dropping them into the collage, ensuring a clean, uniform look that doesn't feel disjointed.
How do I make the background transparent?
Just run your image through the background remover tool before starting your project. It’s perfect if you want to swap in a custom background or simply want that clean, minimalist look for your final export.
Is this tool suitable for ecommerce photos?
It definitely is. We’ve built out specific ecommerce tools to keep your product photography looking consistent and ready for a high-end storefront. It’s the easiest way to display product upgrades or new packaging designs.
Can I export to different file formats?
Yes. Once you’re done building, use our format converter to swap between PNG, JPG, or any other format that your specific platform requires for the best display.
Ready to create visuals that actually stop the scroll? Head over to MakeMyVisuals right now and start building your first professional before and after collage in seconds. Our suite of AI-powered tools is ready to help you level up your content game.
Related Guides & Articles
- Nothing Expands Audio Lineup with Premium Headphone (1) Pro
- Google Announces Fitbit Air Launch for Indian Market: A New Era of Discreet Health Tracking
- How to Create a Photo Collage for Instagram Posts and Stories
- How to Create a Digital Signature Online for Free
- Realme 16 Pro Harry Potter Edition Debuts to High Fan Expectations
- Image Dimensions for Every Major Social Media Platform (2026)