How to Create a Photo Collage for Instagram Posts and Stories

Why Photo Collages Are Essential for Your Instagram Strategy
Instagram is a visual landscape, but the sheer volume of noise means you have to fight for every second of attention. A well-crafted photo collage lets you pack multiple narratives into a single frame, offering your followers a much deeper experience than a lone snapshot. Whether you’re recapping a high-energy brand launch or sharing the nuances of a weekend trip, collages provide a density of information that keeps users glued to your content.
Forget the myth that you need expensive, clunky software to build professional-grade grids. The real struggle most creators face isn’t talent; it’s finding that sweet spot between aesthetic polish and crisp image quality. This is where a dedicated Collage Maker becomes your secret weapon. It allows you to protect your brand identity while maintaining total control over your layout, even when you're juggling multiple assets.
The Power of Multi-Image Storytelling
Human attention spans on social platforms are notoriously thin. By grouping related images, you’re not just posting photos; you’re building a "story within a story." Instead of flooding a feed with ten individual, disconnected posts, a collage allows you to curate a singular, cohesive collection that packs a punch. It’s the most efficient way to showcase different angles of a product or capture the distinct vibe of an event.
Professionalism lives in the details. When your images share a common theme or color palette, the collage feels intentional rather than like a chaotic pile of pixels. Take the time to color-correct your shots before snapping them into your frame—that little bit of prep work is exactly what gives your feed that high-end, editorial look.
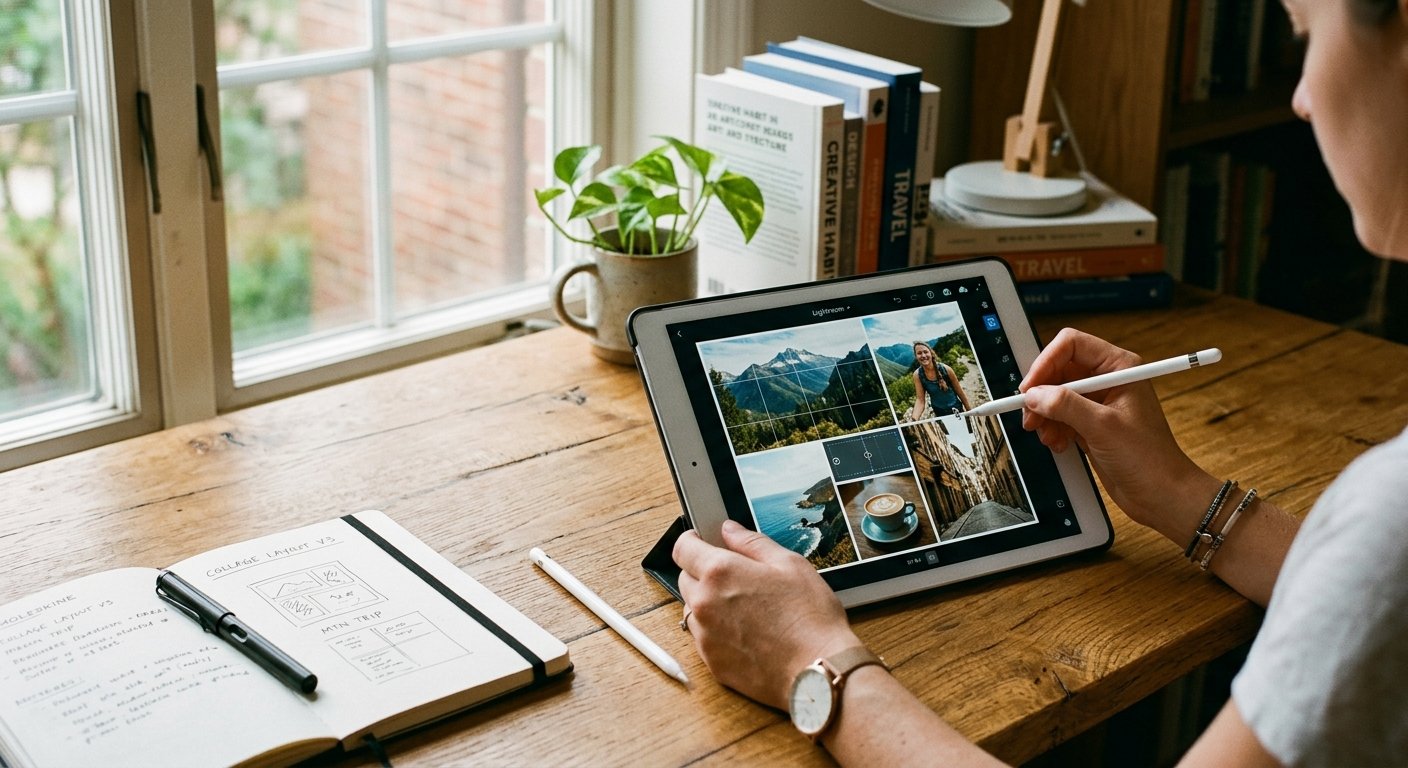
Optimizing Images Before You Start
Don’t start designing until your source files are ready for prime time. Large, unoptimized images are a death sentence for quality; they often look soft or pixelated once they’ve been chewed up and spat out by mobile app compression. Start by running your photos through an image resizer to ensure they fit standard dimensions from the jump. This stops those awkward, automated crops that ruin your framing.
You’ll also want to lean on auto-compress to trim fat from your file sizes without sacrificing visual fidelity. High-quality visuals that load in a heartbeat are the darlings of social algorithms, giving your collage a significantly better chance of reaching a wider audience.
Choosing the Right Tool for the Job
The app store is saturated with software, but most of it is bloated with features you’ll never actually touch. You need a streamlined environment that lets you move fast and manipulate images with precision. The most successful creators build a workflow around specialized tools, refining each element before bringing it all together into the final layout.
Take the "clean look" aesthetic, for instance. To nail this, you might need an AI background remover. Stripping away distracting backgrounds allows you to layer images over one another, creating that elevated, artistic collage style that sits head and shoulders above standard, templated grid layouts.
Selecting Your Layout Style
Choosing between a classic grid, a film-strip vibe, or a chaotic free-form layout comes down to your objective. Classic grids are the gold standard for minimalist, clean feeds where you want each image to stand on its own merit. Free-form collages, on the other hand, invite overlapping and varied sizes, which can feel much more personal and organic.
Keep a hawk-eye on your output aspect ratio. Instagram Posts perform best in a 4:5 vertical format, while Stories demand the full-screen 9:16 treatment. Always set your canvas dimensions correctly at the start, or you’ll end up with a stretched, distorted mess that gets cut off by the app’s interface.
Working with Transparent Elements
If you want a genuine pro edge, start using a format converter to generate transparent PNG assets. Adding cutouts of yourself or your products—stripping out the background entirely—adds serious depth to your design. This simple technique transforms a flat photo into a dynamic graphic element that feels like it’s floating right on top of your layout.

Step-by-Step: Creating Your First Collage
Organize your assets in one folder before you do anything else. Having your raw materials ready to go turns a tedious design session into a high-speed execution. If you’re pushing products, run them through an ecommerce toolset to sharpen the edges and polish the lighting before they ever hit the collage canvas.
Launch your collage maker and pick your template. Drag and drop your visuals into the slots. If a photo feels slightly "off" once it’s nested, don’t settle—crop it, rotate it, or add a subtle border to help it stand out from its neighbor. Your goal is harmony, not just filling space.
Refining Individual Photos
Every once in a while, one photo in your set just doesn't play nice with the others. If the lighting is inconsistent or the colors clash, use a recolor tool to tweak specific objects until they sync up with your overall scheme. Achieving this level of visual consistency is exactly how you bridge the gap between "amateur snapshot" and "branded content."
Don’t overlook the hair-edge refinement on your cutouts, either. Use tools that offer precise edge detection; it ensures your subjects don’t look like they were cut out with a pair of dull scissors. That obsession with clean edges is the difference between a graphic that looks high-end and one that looks like a high-school project.
Common Mistakes to Avoid
The cardinal sin of collage design? Clutter. When you shove ten different images into one frame, you lose the viewer immediately—they don't know where to look, so they stop looking altogether. Be ruthless. Stick to three to five high-quality shots and let them breathe.
Text readability is the other major pitfall. If you’re layering words over your collage, ensure your background images aren’t fighting for attention. Sometimes you have to apply a soft, dark overlay or a slight blur to your background photos to ensure your message is actually legible. Use your editing tools to create the contrast your text needs to pop.
Ignoring Mobile Viewers
Every single pixel you put on the screen must be optimized for the vertical mobile feed. If you build a collage with horizontal orientation, it will appear tiny and inconsequential on an Instagram user’s screen. Prioritize verticality to claim as much screen real estate as possible. Think of your post as a billboard—don’t waste the space by shrinking your message into a sliver.
Best Practices for High Engagement
Engagement follows value and visual flow. If you’re building a collage for a tutorial or a "how-to," the reader needs a map. Most people naturally track from top-left to bottom-right, so arrange your sequence to follow that logical path. You’re guiding their eye, so make sure the destination is worth the journey.
Consistency in color grading is non-negotiable. If one image in your collage is pushing warm tones while another is icy blue, the whole composition will feel jarring. Normalize your brightness, saturation, and contrast across the board before you export. A unified look signals that you know what you’re doing.
Utilizing Advanced Editing Features
Once you’ve mastered the grid, start playing with layers and shadows. Adding a soft drop shadow behind an element can give your collage a 3D, tactile quality. Experiment with masking as well, which allows you to soften edges and fade one photo into the next, creating a professional, seamless blend.
Keep your house in order. Use a naming convention for your files so you aren't hunting for "Untitled_Final_V2" three weeks later. Keep your master, high-resolution files separate from your optimized social exports. You’ll want those master copies if you ever decide to remix your content for a different platform or a higher-resolution medium later on.
Frequently Asked Questions (FAQ)
What is the best aspect ratio for an Instagram story collage?
The standard is 9:16, or 1080px by 1920px. Don’t deviate from this. If you don't fill that space completely, you’ll end up with those ugly, unprofessional black bars at the top and bottom of your story.
Can I remove backgrounds to make my collages more creative?
You absolutely should. Using an online background remover to isolate a subject allows you to place them onto custom textures or colors. This is the exact trick influencers use to make their collages look like high-production graphic design rather than a default smartphone app output.
How do I keep my collage images from looking blurry?
Blurriness is almost always a symptom of poor scaling or low-resolution sources. Always start with the highest quality original files you have, and use an image resizer to match your final output dimensions exactly. Don't let your software "guess" how to resize your images.
Is there a way to batch edit photos for a collage?
Yes. If you’re working with a heavy set of images, run a batch process to normalize your brightness and contrast or perform bulk resizing before you open your collage maker. It turns a one-hour task into a five-minute win.
Should I use a border between images?
Borders can be useful if you need to separate busy or similar-colored photos. However, the current trend favors a "no-border" look—it makes the entire collage feel like one single, unified piece of art rather than a collection of separate tiles.
What is the benefit of using an online tool over a mobile app?
Online tools like MakeMyVisuals offer significantly more processing horsepower than the average phone app. You get surgical control over your editing—from AI background removal to fine-tuned color grading—all within a professional, browser-based workflow. You won't have to deal with the frustration of syncing files between devices or fighting a cramped mobile interface.
Ready to level up your social media game? Whether you need to fix a background, resize your assets, or build a stunning collage from scratch, our suite of tools is designed to handle the heavy lifting for you. Explore our platform today and start creating visuals that get noticed.
Related Guides & Articles
- How to Create a Digital Signature Online for Free
- Realme 16 Pro Harry Potter Edition Debuts to High Fan Expectations
- Image Dimensions for Every Major Social Media Platform (2026)
- How to Remove Background from Jewelry Photos Without Losing Details
- What Is the Best Image Compression Workflow for a Website?
- Why Are iPhone Photos Saved as HEIC Instead of JPG?