Signature Maker Guide: How to Create a Professional E-Signature for Free
Why Your Signature Still Matters in the Digital Age
Signatures carry personal weight. Even in a business landscape dominated by automated workflows, API handshakes, and cloud documentation, human ink still seals trust.
A sloppy, low-resolution cut-and-paste job ruins an otherwise immaculate proposal. Slapping a muddy graphic across a contract tells the recipient you cut corners when nobody is looking. In contrast, an authentic, crisp mark demonstrates professionalism and deliberate attention to detail.
Think about the last time you received a document signed with an ugly, gray-tinted box pasted awkwardly over an agreement line. It looks amateurish. It instantly raises questions about how the other party handles their operational details.
You don't need an enterprise software subscription or expensive hardware just to sign a freelance agreement, a commercial lease, or a client contract. With the right browser-based utilities and basic visual hygiene, building a reusable digital autograph takes less than two minutes.
The Psychological Impact of a Clean Signature
People evaluate contracts visually long before they dig into the fine print. When a client or partner spots a pixelated white rectangle pasted across a shaded table, their confidence drops immediately.
Visual friction creates subconscious hesitation. A clean line stroke that flows seamlessly across document boundaries signals technical competence and self-respect. It shows that you understand modern presentation standards.
Little details like transparent margins set serious operators apart from casual amateurs. When your signature sits directly on the document canvas without artifact halos, it blends into the page like natural ink.
That seamless look reassures your client that you run a tight ship. It reinforces authority, closes deals faster, and leaves zero doubt about who signed off on the terms.
Paper Scans vs. Crisp Digital Assets
Most people still handle digital signatures the hard way. They grab a scrap of paper, scribble their name, snap a shadowed phone photo, and paste the cropped JPEG straight into their PDF.
That quick-and-dirty approach produces an ugly, yellowish box that violently clashes with clean digital white space. The phone's camera cast shadows across the margins, and the rough paper grain injects nasty visual noise around every letter.
Worse, resizing that raw photo usually squishes the aspect ratio, making the signature look warped. What you actually need is an isolated ink asset—either a clean vector path or a high-contrast alpha PNG that sits effortlessly on any background color.
An isolated asset carries no background baggage. Drop it over pure white, charcoal gray, or a security watermark, and only the dark pigment touches the surface.
Understanding Electronic Signatures: Formats and Legality
Before assembling your graphic, you need to understand how digital endorsements operate in real business settings. Different operational tiers demand different visual and technical approaches.
Knowing the distinction between everyday raster files and cryptographic certificates will save you time and keep you compliant. Let's break down where visual signatures fit into modern legal frameworks.
What Makes an E-Signature Legally Binding?
Across North America, the UK, Europe, and Australia, electronic signatures hold the exact same legal weight as wet-ink pen marks for everyday commercial dealings. Frameworks like the US ESIGN Act, UETA, and the European Union's eIDAS regulation established this standard decades ago.
Enforceability doesn't depend on how expensive your software was. It hinges on three foundational factors: clear intent to sign, mutual consent to do business electronically, and a verifiable audit trail showing who sent what.
When both parties agree to handle transactions online, placing a graphic signature onto a PDF and exchanging it via verified email fulfills those baseline requirements. It demonstrates explicit intent to execute the agreement.
Certain edge cases, such as filing deeds, executing wills, or submitting sworn court affidavits, might demand specialized cryptographic certificates with public-key infrastructure. But for everyday business—freelance agreements, sales orders, NDAs, employee onboarding, and invoices—a crisp visual mark paired with standard electronic delivery is universally recognized.
The secret is documenting the exchange. Save your confirmation emails, keep transaction records intact, and ensure your visual signature accurately reflects your established business identity.
Vector Paths vs. Raster PNG Files
Raster images rely on a fixed grid of colored pixels. Standard JPEGs belong to this family, which is why scaling them up inside a document viewer turns smooth ink into a blurry, jagged mess.
A transparent PNG solves the background issue by replacing white pixels with an alpha channel. As long as you generate the file at high resolution, a PNG gives you tack-sharp edges on virtually any standard desktop or mobile screen.
Vectors, such as SVG files, ditch pixels entirely in favor of mathematical coordinates. They calculate lines, curves, and anchor points on the fly, remaining razor-sharp whether viewed on an iPhone screen or blown up on a billboard.
Why not use SVGs everywhere? Because many PDF engines and document viewers handle raster PNG imports far more reliably than embedded vectors. For everyday document execution, an ultra-high-resolution PNG built through an interactive signature maker gives you the sweet spot of universal software support and pristine visual clarity.
How to Draw a Clean Handwritten Signature on Paper
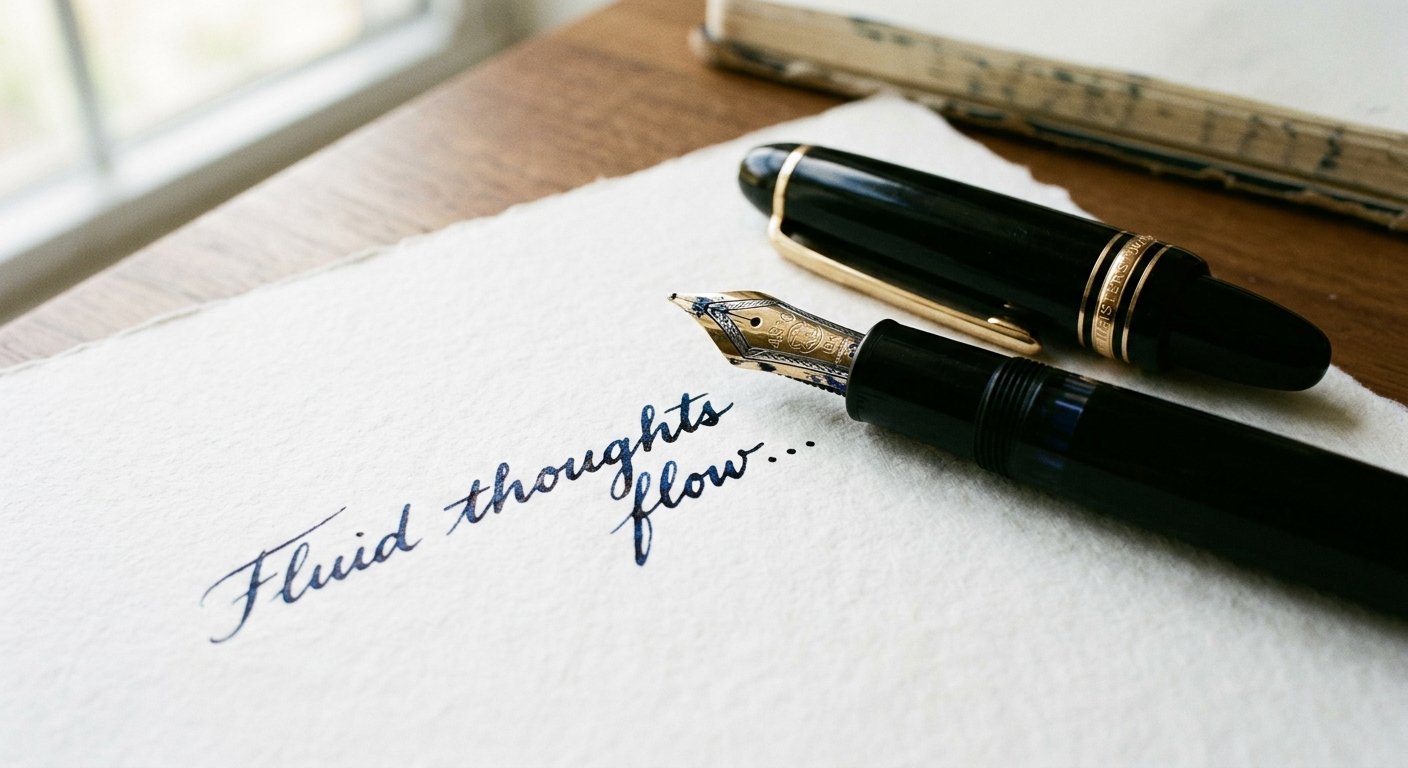
Capturing your authentic handwriting starts on physical paper. If you prefer your natural pen stroke over synthetic font styles, setting up your source material properly is half the battle.
Spend sixty seconds getting your paper and lighting right. That tiny investment will save you twenty minutes of tedious cleanup inside an image editor later.
Choosing the Right Pen and Paper
Grab an unlined sheet of bright white printer paper. Skip notebook paper, legal pads, and sketchbooks, because blue horizontal lines, yellow tints, and textured fiber patterns bleed into your graphic during extraction.
Ditch the standard office ballpoint pen. Cheap ballpoints skip, deposit messy ink clumps, and produce an uneven gray tone that confuses background isolation tools.
Reach for a smooth rollerball, a gel pen, or a fine-point felt marker instead. Deep black or rich navy blue gel ink lays down uniform pigmentation that provides maximum contrast against clean paper.
Sign your name roughly 20% to 30% larger than you normally write on a receipt. A larger physical footprint captures more raw detail on your camera sensor, resulting in far smoother curves once digitized.
Capturing High-Contrast Lighting With Your Phone
Set your signed paper flat on a desk near a window with indirect daytime light. Avoid harsh, direct afternoon sunlight because it creates blinding specular highlights on wet ink strokes.
Dim household lamps are just as bad. They flood the paper with a muddy yellow cast and force your smartphone camera to jack up its sensor gain, introducing heavy digital grain.
Stand square to the paper and hold your phone directly parallel to the writing surface. Tilting your phone creates perspective distortion, which warps your signature into an unnatural slant.
Make sure your body doesn't block the light source and cast a dark shadow across the ink. Snap the frame with your phone's primary lens at 1x magnification without digital zoom, preserving pure optical clarity.
Step-by-Step: Converting Paper Signatures to Transparent PNGs
Once you capture a clean photo, you need to strip away the physical paper and leave only pure ink. That separation demands smart visual processing.
Manually brushing away the white background using an eraser tool is slow, clumsy, and leaves jagged edges around delicate loops. Automated extraction tools get the job done in seconds without the headache.
Step 1: Upload and Clean Up the Shot
Start by feeding your photograph into an intelligent background remover calibrated to handle delicate line art. The tool scans your image to map out contrast variations across the whole canvas.
Modern edge-detection algorithms evaluate the baseline luminance of the paper. They differentiate ambient lighting gradients from the deliberate high-density pigment of your pen strokes.
Crop the photo loosely around your name before running the extraction. Trimming out unnecessary empty desk space reduces processing overhead and keeps the algorithm focused strictly on the ink.
Step 2: Strip the Paper Texture With an AI Background Remover
Standard color-key filters often fail on handwritten scripts. They struggle with the soft transitions where ink meets paper, frequently wiping out the thin tails of letters like 't', 'g', or 'y'.
Using a specialized transparent background maker protects those fragile strokes. The system identifies paper fibers and micro-shadows, systematically dissolving them while preserving every drop of ink.
Behind the scenes, this dedicated PNG background remover converts the surrounding paper into an empty alpha channel. What remains is a clean, floating graphic asset ready to sit cleanly over invoices, forms, and digital contracts.
Step 3: Preserve Stroke Dynamics With Edge Refinement
Natural handwriting isn't a uniform strip of plastic. The start and end of every stroke are naturally softer and slightly translucent compared to the heavy middle press of the nib.
Running your asset through an HD background remover preserves this organic pressure dynamic. It prevents the software from flattening your autograph into a harsh, robotic silhouette.
Always verify the output by previewing it against alternating light and dark backgrounds. Look closely at the loops of your letters to confirm there are no leftover white halos or jagged edge tears.
Using an Online Signature Maker: The Direct Digital Approach
You don't always have access to a smooth pen, a flat desk, and good window light. When you're traveling or working on a tight deadline, generating your asset directly in your browser is the fastest route.
Modern browser canvases have come a long way. They translate your touch inputs, stylus strokes, or mouse gestures into fluid lines with zero setup time.
Drawing Direct on Touchscreens and Trackpads
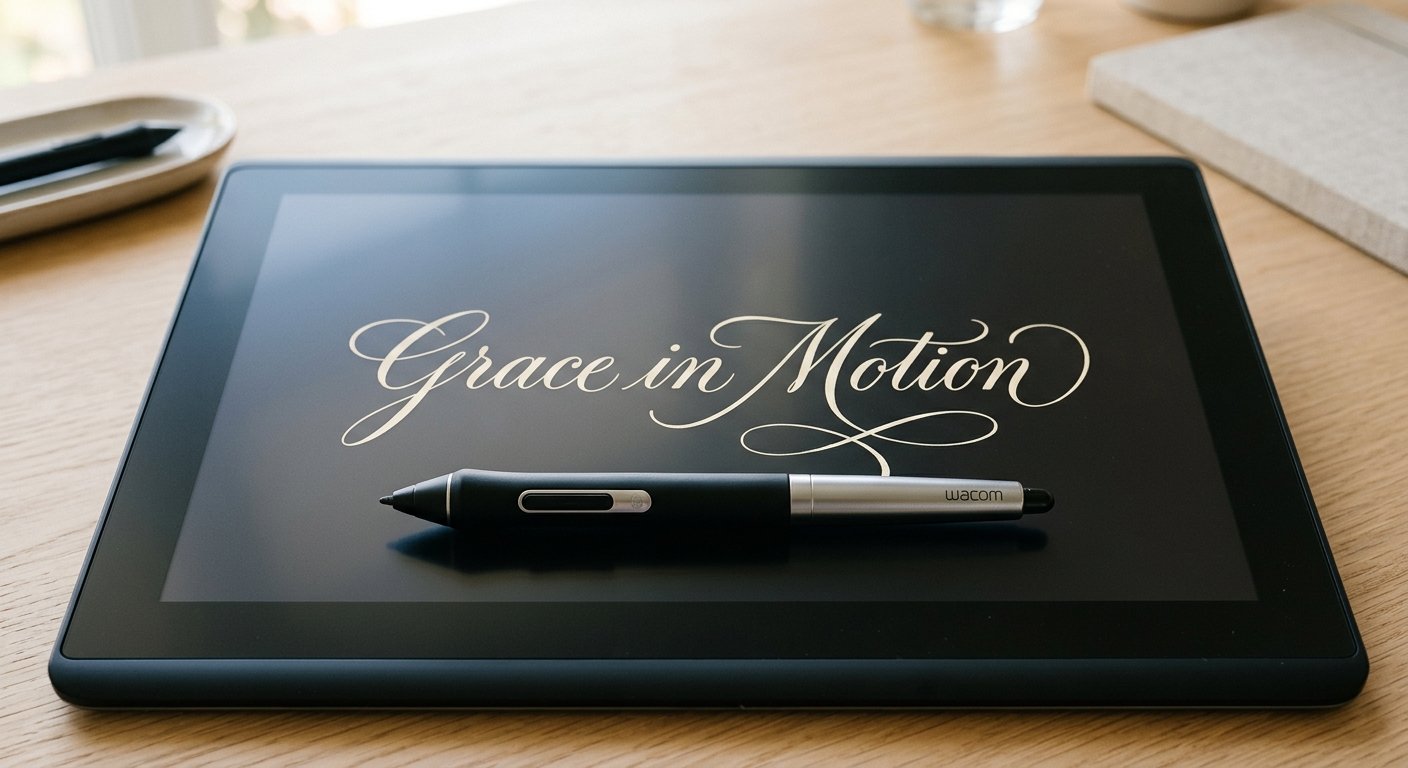
Launch the browser-based signature maker on your tablet, smartphone, or laptop. Your index finger or an active stylus acts as your pen.
Pick your preferred stroke weight and pigment shade right inside the interface. High-contrast midnight black and dark navy blue offer the cleanest, most professional look for legal documentation.
Mess up a curve? Just hit the reset button and sign again until you're completely satisfied. Because this method generates vector paths digitally, your exported PNG comes out razor-sharp with transparent margins built right in.
Typing Font-Based Signatures With Custom Styling
Let's be realistic: not everyone has attractive handwriting. If your physical penmanship looks illegible, forcing it onto an important proposal might work against you.
Typographic digital signatures give you a polished, executive look without messy scribbles. Simply type your legal name into the generation tool and browse through curated cursive typographies.
Pick a style that fits your personal brand, from traditional executive script to clean, modern handwriting styles. Once you settle on a look, export it as a high-resolution transparent PNG that brings consistency to all your outward-facing files.
Optimizing and Formatting Your E-Signature Asset
Generating your visual mark is only part of the process. If you drop an uncompressed 12-megapixel image into a multi-page PDF, you risk ballooning the file size, breaking layouts, or crashing basic document viewers.
Proper optimization ensures your graphic behaves smoothly inside Word, Google Docs, Apple Pages, and every major PDF suite. Here is how to prep your file for frictionless everyday use.
Resizing Dimensions for Invoices and Contracts
Direct camera uploads can easily measure upwards of 4,000 pixels wide. Placing a graphic that massive onto a standard agreement signature line will throw off formatting grids or cause visual glitches.
Drop your file into a browser-based image resizer to bring it down to standard document dimensions. A width of 400 to 600 pixels at 300 DPI gives you crystal-clear legibility without unnecessary bloat.
Always keep your aspect ratio locked while making dimension adjustments. Unlinking the width and height stretches or compresses your autograph, leaving it looking distorted and obviously faked.
Compressing File Size Without Losing Stroke Clarity
File sizes add up fast when assembling multi-page agreements or enterprise proposals. Oversized document attachments choke client inboxes and fail corporate firewall file caps.
Pass your transparent PNG through an auto-compress tool to strip superfluous metadata and optimize the internal color palette. This step discards invisible overhead without touching visible ink fidelity.
Sensible compression drops your asset's footprint down below 40 kilobytes. That tiny footprint guarantees snappy loading times while preserving every micro-curve of your original pen stroke.
Converting Formats for Web and Document Workflows
While transparent PNG remains the universal standard for modern digital paperwork, legacy enterprise portals sometimes demand specific alternatives like uncompressed TIFFs or solid JPEGs.
When an outdated HR platform or banking portal rejects your PNG, use a quick online format converter to create the exact extension required. It takes five seconds and keeps your submissions moving forward.
Keep your master transparent PNG file backed up securely on your machine. You can always use it to generate whatever one-off file format an external vendor's system demands.
Common Mistakes That Ruin Digital Signatures (And How to Fix Them)
Even seasoned business owners fall into preventable traps when handling their digital credentials. Watch out for these three visual blunders to ensure your paperwork always looks top-tier.
The Murky Gray Box Problem
We see this visual mistake on contracts constantly: a crisp white contract broken up by an off-white, grayish rectangle surrounding someone's name. It happens whenever someone pastes an unedited JPEG photo straight onto a digital page.
Avoid this issue completely by never saving your signature as a bare JPEG without an alpha channel. Always process your raw photo through an image cutout tool to strip away the background before inserting it into any document.
Pixelation and Jagged Linework
Cropping a tiny thumbnail from a low-resolution scan and scaling it up always results in ugly pixelation. The ink breaks down into jagged stairs that scream amateur hour.
Always create your signature asset from a crisp, high-resolution original. If your current file looks fuzzy on a standard laptop display, scrap it and take sixty seconds to build a clean asset from scratch.
Over-Complicated Flourishes That Fail at Small Sizes
Huge, sweeping flourishes and dramatic underlines look impressive on an expansive sheet of paper. But when scaled down to fit inside a standard half-inch signature line, those elaborate loops collapse into an illegible ink blot.
Keep your digital mark balanced and legible. Let your initials carry the style, maintain clean letterforms through the body of your name, and avoid wild underlines that force document software to shrink your overall graphic down to a tiny blur.
Best Practices for Storing and Protecting Your E-Signature
Because your signature authorizes deals, verifies agreements, and greenlights payments, handle the graphic asset with real care. Treat it with the same vigilance you would give to an ID card or a banking token.
Never leave raw signature files sitting on public desktops, shared network drives, or unmonitored company folders where anyone can grab the file and paste it without your knowledge.
Secure Local Storage vs. Cloud Drives
Keep your master signature file inside an encrypted or password-protected folder on your primary workstation. When syncing your master assets to cloud storage, make sure your account requires two-factor authentication.
Give the file an unassuming, neutral name like asset_sig_2024.png instead of my_official_legal_signature.png. This simple habit keeps the file from jumping out to casual browsers if a drive is momentarily left unattended.
Streamlining Workflow With Document Helpers
When assembling high-volume agreements, combine your signature graphic with purpose-built layout tools. Using a smart doc assistant helps you organize pages, set precise field alignments, and insert your seal exactly where it belongs.
This unified approach ensures your outbound proposals, client acknowledgments, and invoices stay visually consistent from the opening header to the final sign-off line.
Looking to refine your asset prep workflow even further? You can test and practice these skills with our free interactive modules to level up your document presentation skills.
Frequently Asked Questions (FAQ)
Can I create a professional e-signature on my smartphone?
Yes. You can use your mobile browser to access an online drawing canvas or take a quick, high-contrast photo of your signature on paper. Running that photo through an automated background remover directly on your phone produces a clean, transparent PNG in seconds.
What is the best file format for a digital signature?
PNG is the undisputed champion for visual digital signatures. Unlike JPEGs, PNGs support an alpha channel, meaning the background behind your ink is completely transparent. This allows your signature to sit naturally on white pages, colored forms, or contract lines without a distracting white box.
Is an electronic signature legal for signing contracts?
In most commercial situations across the US, UK, Canada, Australia, and the EU, electronic signatures are legally binding. Legislation like the US ESIGN Act and the EU eIDAS regulation recognizes electronic marks as valid expressions of agreement for standard commercial contracts, agreements, and invoices.
How do I remove the paper background from my handwritten signature?
The easiest method is using an AI-powered image background remover. Simply upload a photo of your signature, and the tool will automatically detect the paper, erase the white or cream background, and leave only your dark ink strokes preserved as an isolated PNG.
Why does my signature look blurry when placed in a PDF?
Blurriness occurs when you enlarge a low-resolution or heavily compressed image. To avoid this, always capture your original signature in high resolution, crop it tightly around the ink bounds, and use a dedicated image resizer to set the file at 400 to 600 pixels wide before inserting it into your document editor.
What ink color should I use for my electronic signature?
Deep black and dark navy blue are the two best choices. Black provides maximum visual contrast and mirrors traditional print workflows. Dark navy blue is also widely favored because it clearly distinguishes an original digital mark from standard black document text.
Ready to upgrade your workflow? Head over to MakeMyVisuals Signature Maker today, create your custom professional e-signature for free, and sign documents with confidence.
Related Guides & Articles
- From Beginner to Pro: Improve Your Visual Skills Through Interactive Games
- Test Your Creative Skills With Free Browser-Based Design Games
- Can You Spot the Difference? Fun Visual Challenges to Try Online
- 7 Mini-Games That Test Your Image Editing and Design Skills
- Apple Reveals Redesigned iPad Mini Featuring OLED Display and A20 Pro Chip
- How to Create Luxury Product Photos Using AI