PNG vs JPEG vs WebP: Which Image Format Should You Actually Use?
Decoding the Digital Canvas: Why Image Formats Matter
Every digital creator hits a brick wall when saving an asset. You're staring at a dropdown menu of confusing acronyms: PNG, JPEG, WebP, GIF, SVG. Which one actually fits the bill?
Pick the wrong format, and your website crawls to a sluggish, frustrating halt. Choose poorly, and your crisp product shots suddenly look like a blurry mosaic.
File formats dictate how pixels store, compress, and render across different browsers. Master these differences, and you'll save precious bandwidth while keeping mobile users happy. Google ranks fast-loading pages higher, turning format selection into a core pillar of modern technical SEO.
Let's break down the exact mechanics driving these three heavyweights. By the end of this deep dive, you'll stop guessing entirely. You'll know precisely when to deploy each format for maximum visual impact and lightning-fast performance.
The Anatomy of Digital Pixels
Raster images are simply grids of colored squares known as pixels. Each individual pixel holds specific color data. The real challenge involves packing millions of these data points into a file size small enough to travel across the internet in milliseconds.
Different formats use entirely different math to achieve this goal. Some formats keep every single pixel completely intact, while others quietly discard data your eyes barely notice anyway.
Knowing how this compression works helps you pick the right tool for the job. You can finally stop relying on blind trial and error.
Whenever you need to adjust dimensions or optimize file sizes before deployment, running your assets through a reliable image resizer keeps your projects lightweight and perfectly scaled.

Balancing Quality and Speed
Speed is the ultimate currency on the modern web. Users abandon slow pages within three agonizing seconds. Your stunning portfolio or ecommerce store lives or dies by its load times.
Heavy image files are almost always the primary culprit behind sluggish performance. Balancing pristine visual fidelity with tiny file sizes takes real strategy.
You have to weigh transparency requirements directly against color depth. Consider whether your audience views your site on a high-end Retina display or a budget smartphone on a crawling cellular connection.
Automating your workflow helps eliminate this friction entirely. Utilizing an auto compress utility strips away redundant metadata without sacrificing visual clarity, keeping your site fast and responsive.
The JPEG Standard: Reliable, Universal, and Lossy
JPEG is the undisputed grandfather of web graphics. Introduced decades ago, it remains the most widely supported image format on the planet. Every camera, phone, browser, and modern device can open a JPEG without breaking a sweat.
The secret weapon of JPEG is lossy compression. It analyzes blocks of pixels and permanently discards color data that the human eye struggles to perceive.
You get remarkably small file sizes in exchange for a tiny, often invisible drop in detail. This makes JPEGs completely unbeatable for complex photographs featuring smooth color gradients.
However, JPEGs absolutely hate sharp lines and solid blocks of color. Push compression too high, and ugly artifacts appear around text and high-contrast edges. If you need to convert existing files into this universally accepted standard, a robust format converter handles batch processing effortlessly.
When to Use JPEG
Deploy JPEGs for photographs, blog post headers, and hero banners. Any image featuring organic textures, lighting shifts, and complex color palettes benefits massively from JPEG compression.
The human eye easily forgives slight compression artifacts in a sunset or a portrait. Avoid JPEG entirely when your graphic contains transparent areas.
JPEG doesn't support transparency at all. It forces a solid background—usually stark white—onto your image, which ruins floating icons, logos, and cutout products.
If you're working with product shots that require clean cutouts against custom backdrops, you can easily remove unwanted surroundings using a dedicated background remover before exporting your final assets.
Common JPEG Pitfalls
Resaving a JPEG multiple times degrades quality rapidly. Every time you open, edit, and save a lossy file, the compression algorithm runs all over again, creating cumulative pixel degradation known as generation loss.
Always keep your master file saved in a lossless format. Export to JPEG as the absolute final step in your publishing workflow. Never edit a JPEG directly if you can possibly avoid it.
Pay close attention to compression sliders in your editing software. Dropping quality down to fifty percent might save a few kilobytes, but it turns your sharp photography into an absolute pixelated mess.
The PNG Powerhouse: Lossless Quality and Transparency
PNG stands for Portable Network Graphics. It was originally designed to replace GIF and offer superior lossless compression. Unlike JPEG, PNG keeps every single pixel intact. Your images remain razor-sharp, no matter how many times you open and save them.
The superpower of PNG is alpha channel transparency. You can float a logo, icon, or cut-out object over any background color without unsightly white boxes surrounding your graphic.
This makes PNG the undisputed champion of user interface design and web graphics. The catch? File size.
Because PNG retains all pixel data without compromise, files can grow massive. Heavy PNG files will grind your website speed to a screeching halt if used carelessly for large photographs.
When to Use PNG
Stick to PNG for UI elements, icons, vector-style illustrations, and sharp typography graphics. Logos demand PNG or SVG formats to stay crisp on high-resolution displays. Transparent backgrounds are non-negotiable for professional branding.
For ecommerce store owners, showcasing products against clean backdrops is vital. You can build a consistent visual catalog by utilizing a product studio environment that highlights every item with pristine clarity.
When dealing with complex portraits requiring intricate edge blending, ensuring smooth hair strands and fine details is crucial. Tools that specialize in hair edge refinement help preserve delicate textures when generating transparent cutouts.
Handling PNG File Bloat
To combat bloated file sizes, use 8-bit PNG instead of 24-bit PNG whenever possible. 8-bit PNG limits the color palette to 256 colors, which is plenty for flat icons and simple graphics while slashing file size dramatically.
Never use PNG for massive photographic images. A full-size photo saved as a PNG can easily exceed several megabytes. That's entirely unnecessary when a compressed JPEG or modern WebP achieves near-identical visual results at a fraction of the weight.
If you need to generate clean graphics from scratch or combine multiple visual assets for a campaign layout, a flexible collage maker streamlines asset preparation.
The WebP Challenger: Google’s Modern Standard
WebP is Google’s modern image format designed specifically for the web. It supports both lossy and lossless compression, and yes, it handles transparency too. WebP essentially combines the best features of JPEG and PNG into a single file format.
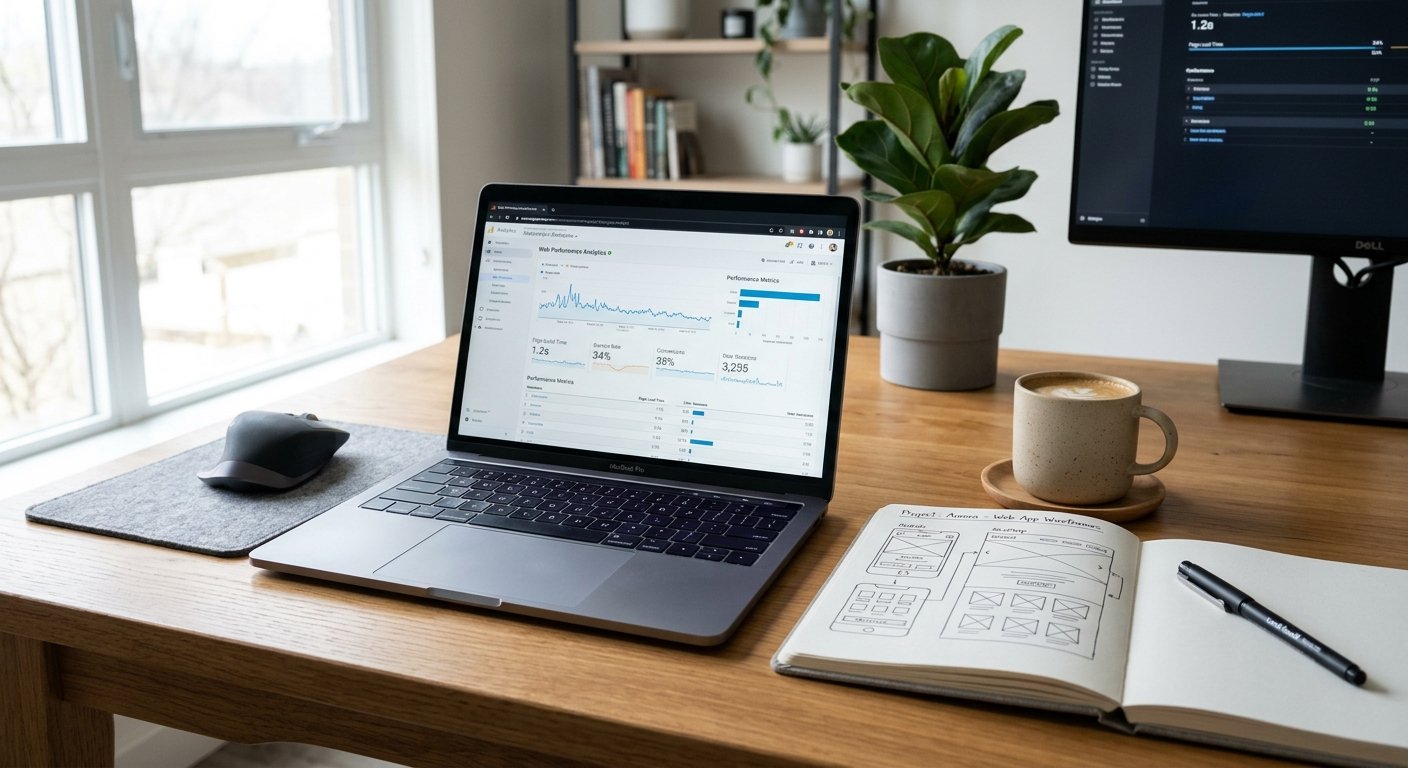
The raw efficiency of WebP is staggering. Lossy WebP images are typically twenty-five to thirty-four percent smaller than comparable JPEGs at equivalent visual quality. Lossless WebP files are significantly smaller than their PNG counterparts.
Browser support used to be a major hurdle for WebP adoption. Today, every modern web browser fully supports WebP. You can deploy it across your digital properties with total confidence.
Why WebP Wins on Performance
Smaller files mean faster page loads. Faster page loads mean lower bounce rates and higher search engine rankings. WebP represents a direct, undeniable upgrade for web performance optimization.
Even better, WebP supports animation. It can replace bulky animated GIFs with smoother playback and drastically smaller file sizes. This keeps your interactive content engaging without tanking your performance metrics.
Whether you're designing promotional banners or managing digital documents, keeping your file ecosystem optimized ensures smooth cross-platform delivery.
Adopting WebP in Your Workflow
Transitioning to WebP simply requires updating your export habits. Most modern design software and online tools now include WebP export options by default.
If you manage legacy document systems or need to streamline paperwork alongside your visual assets, integrating a smart doc assistant helps keep your administrative files structured and efficient.
For professionals handling official paperwork, ID requirements, or credential styling, tools like a dedicated signature maker ensure your brand assets remain sharp, compliant, and ready for digital deployment.
Side-by-Side Comparison: PNG vs. JPEG vs. WebP
To make the right choice every time, look at how these three formats stack up across key technical criteria. Understanding their strengths prevents costly workflow mistakes down the road.
JPEG offers universal compatibility and small lossy file sizes for photographs, but lacks transparency and degrades with repeated edits. PNG delivers pixel-perfect lossless quality and alpha transparency, but suffers from massive file sizes on complex imagery.
WebP bridges the gap by offering dual lossy and lossless compression, transparency support, and superior file size reduction, though legacy systems may occasionally require a fallback format.
Decoding Compression Mechanics
Lossy compression permanently discards redundant pixel data. It works wonders for human perception because our eyes notice luminance changes much more sharply than color hue changes.
Lossless compression encodes data efficiently without losing a single pixel. It looks for repeating patterns in the image grid and creates a compressed mathematical map of the visual layout.
WebP handles both methods brilliantly. This flexibility gives web developers and designers granular control over asset delivery, ensuring optimal balance between visual fidelity and bandwidth conservation.
Best Practices for Image Optimization
Choosing the right format is only half the battle. Implementing a holistic image optimization strategy transforms your digital workflow and keeps your platforms running at peak efficiency.
Always resize your images to the exact dimensions they will display on screen. Uploading a four-thousand-pixel wide photograph to display in a four-hundred-pixel wide container wastes massive amounts of bandwidth.
Leverage modern responsive image techniques in your HTML markup. Use the picture element to serve WebP to modern browsers while providing a trusty JPEG fallback for older systems.
Avoiding Common Mistakes
Never use PNG for giant photographs. Never use JPEG for transparent logos. These two rookie mistakes inflate page weight instantly and frustrate site visitors.
Do not skip alt text optimization. While file formats handle visual rendering, search engines rely heavily on descriptive text to understand image content and context.
Remember to test your designs across multiple devices. What looks crisp on a calibrated desktop monitor might look muddy on a budget smartphone screen.
Practice and Master Your Visual Workflow
Theory is essential, but practical execution builds true mastery. Knowing when to use PNG, JPEG, or WebP becomes second nature once you build consistent habits and test your skills against real-world scenarios.
If you want to sharpen your technical execution, practice these skills with our free interactive modules through our interactive practice hub, where you can test your knowledge on everything from compression ratios to professional brand consistency.
Frequently Asked Questions (FAQ)
What is the main difference between PNG, JPEG, and WebP?
JPEG is a lossy format best for photographs with small file sizes but no transparency. PNG is a lossless format supporting transparency with larger file sizes. WebP is a modern Google format combining lossy and lossless compression with transparency support and superior file size reduction.
Does Google prefer WebP over JPEG and PNG?
Yes. Google actively recommends WebP because its smaller file sizes improve core web vitals and page load speeds, which are known factors in search engine ranking algorithms.
Can I convert PNG files to WebP without losing quality?
Yes. WebP supports lossless compression. Converting a PNG to a lossless WebP file retains every single pixel while reducing the overall file size significantly.
Why does my JPEG image have a white background?
JPEG does not support transparency channels. When you export an image with a transparent background as a JPEG, the software automatically fills the transparent areas with a solid color, usually white.
Is WebP supported by all web browsers?
All modern web browsers, including Chrome, Safari, Firefox, and Edge, offer full native WebP support. You can use WebP across your digital projects with complete peace of mind.
How can I easily convert and compress my images?
You can use specialized online conversion tools like the format converter and auto compress to manage your visual assets quickly and efficiently.
Ready to transform your visual workflow? Explore the suite of AI-powered tools at MakeMyVisuals to optimize, resize, convert, and enhance your digital images in seconds.
Related Guides & Articles
- From Beginner to Pro: Improve Your Visual Skills Through Interactive Games
- Test Your Creative Skills With Free Browser-Based Design Games
- Can You Spot the Difference? Fun Visual Challenges to Try Online
- 7 Mini-Games That Test Your Image Editing and Design Skills
- Apple Reveals Redesigned iPad Mini Featuring OLED Display and A20 Pro Chip
- How to Create Luxury Product Photos Using AI